Using the mindsensors Configuration Tool
The mindsensors Configuration Tool is your tool to change any parameters on your SD540Cs and CANLights. You can change the basics such as device ID and name, but it also lets you perform more advanced functions like configuring limit switches for the SD540C or testing colors on the CANLight.
First off, where can I download this tool? You can find it right here: mindsensorsConfigurationTool.zip. After you have it downloaded, unzip it and run mindsensorsConfigurationTool.exe! If you are have trouble running the .exe see the Windows 10 addendum at the bottom of this article.
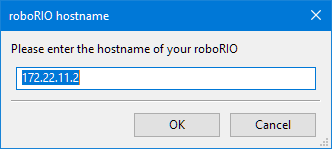
When the application first launches you'll be asked for your roboRIO's hostname. If you need help finding this, take a look at WPILib's tutorial on RoboRIO Networking. In short, if you are connected locally you should be able to use roboRIO-####-FRC.local where #### is your team number. If you are using USB then your hostname is 172.22.11.2. Check out the article for more detail and troubleshooting help.
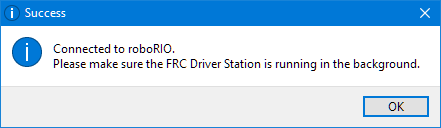
If the mindsensors Configuration Tool was able to find a path from your computer to the roboRIO given the hostname you've provided, you'll see a Success dialog! Click OK. If you don't already have the FRC driver station open, you should probably do that now.
Here you may also see a few notifications.
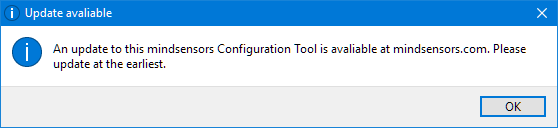
If there is an update available for the mindsensors Configuration Tool, you can download the latest zip from the link above.

If you don't have the mindsensors FRC library on your roboRIO, follow our blog post How to Use SD540C and CANLight with RoboRIO. Once you deploy any robot code from Eclipse using the mindsensors FRC library, it will also be deployed.
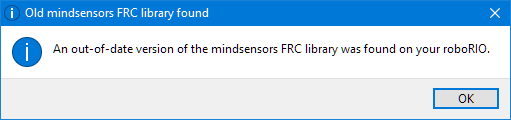
If the mindsensors FRC library on your roboRIO is out-of-date, please download the latest mindsensors FRC library and review How to Use SD540C and CANLight with RoboRIO if you've forgotten how to install a library for FRC.
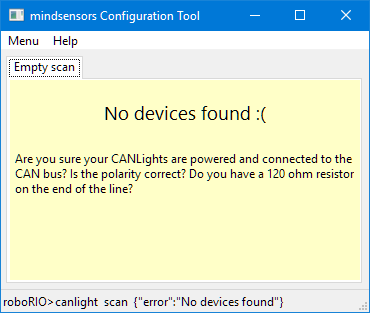
Now that everything is up-to-date, let's take a look at the main window! The first thing it will do is scan for any SD540Cs or CANLight devices on the same CAN network as the roboRIO. If you get an empty scan, make sure your devices are powered and that the CAN wires are not flipped.
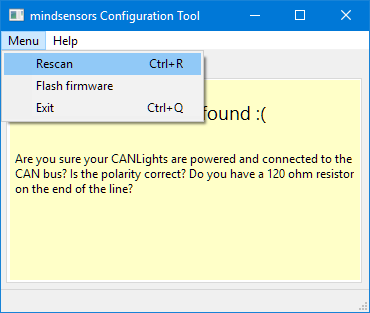
Then press Ctrl+R (or Menu → Rescan) to give it another go.
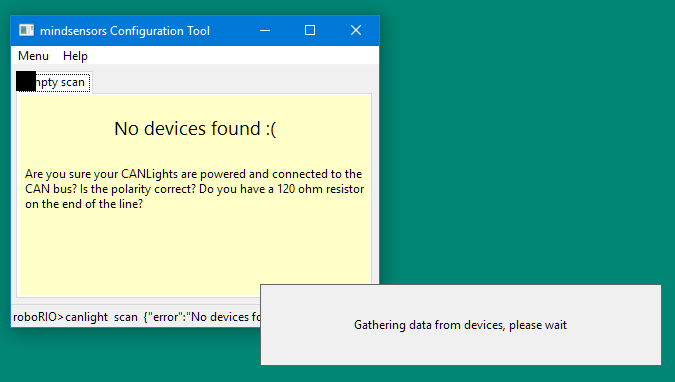
In a moment it will search for any devices. If it finds any please give the application a moment to retrieve all of its data.
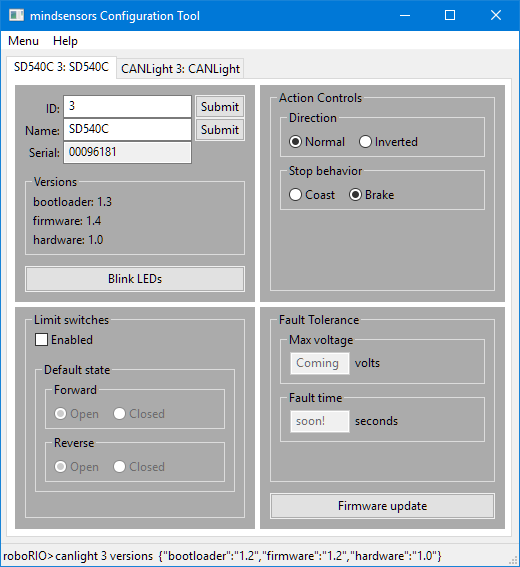
Now you should see each connected mindsensors FRC CAN device as a tab along the top. For this example we have connected one SD540C and one CANLight.
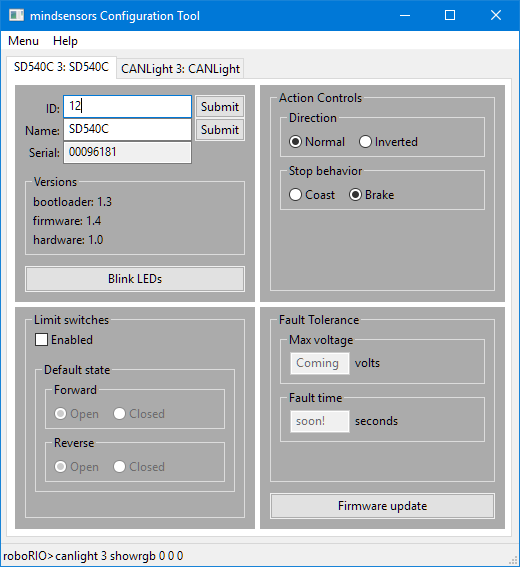
In the top left corner you can change the ID or Name of your device. To change the ID, simply type in the new ID, between 1 and 60.
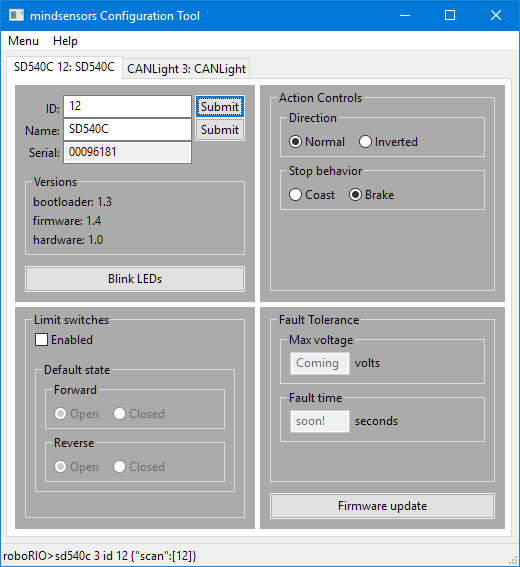
Then, press Enter or click Submit. After a moment, if it was successful, the number in the ID box will stay as what you set it and the tab title will update.
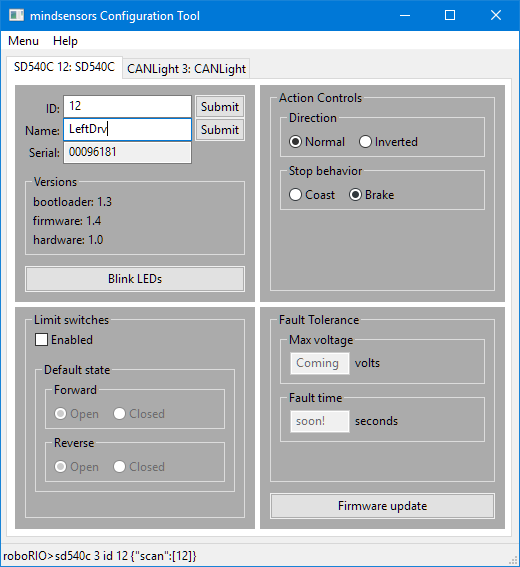
Similarly, you can change the name. The device's name is simply for your reference, it doesn't affect its functionality.

Again, press Enter or click the Submit button. If it was successful the tab title will update too.
In this panel you can view your device's serial number and version information.
You can also click the Blink LEDs button. On the SD540C, this is the LED on the side next to the pinout (not the power or motor LEDs on top). On the CANLight this is the built in to the board. Clicking this button will blink the LED for 5 seconds. This can be useful to figure out which device is which.
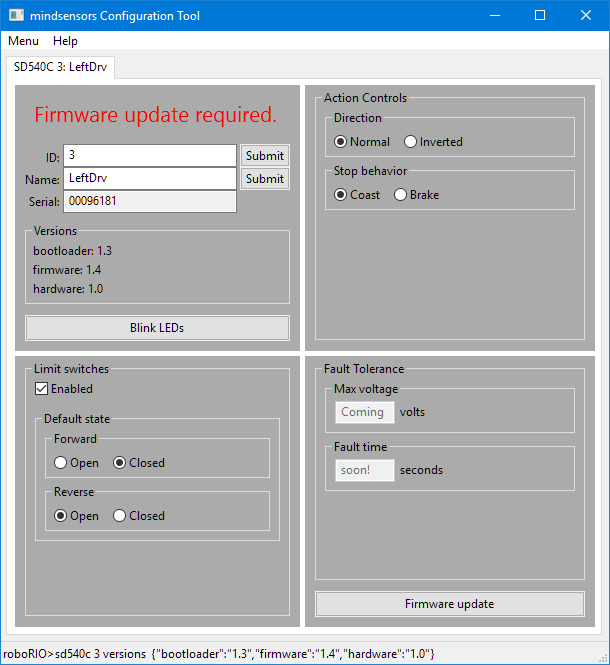
If there is a firmware update, Firmware update required fill appear in red text will appear in the top-left to let you know. Click the Firmware update button in the lower-right.
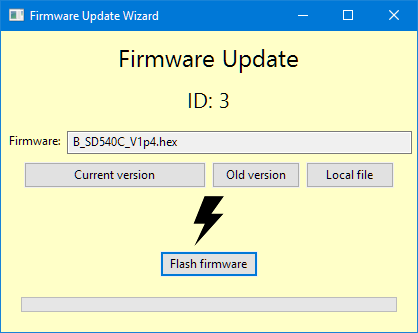
This will open the firmware update window. By default it will have the latest version selected.
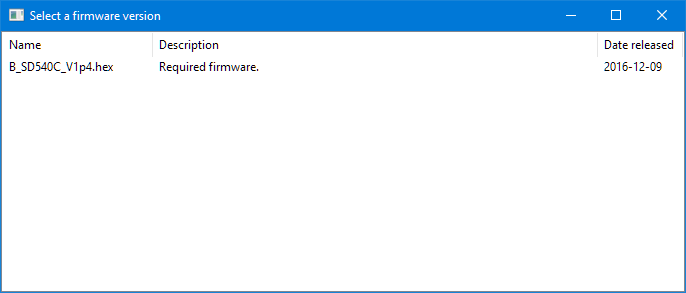
You can click the Old version button to see a list of past versions. Keep in mind the latest will be required for competition. Firmware updates may add new features or correct issues.

Offline firmware updating: Your computer with the mindsensors Configuration Tool may be in a lab or otherwise not be able to access the internet. In this case you can download the latest .hex file from http://mindsensors.com/largefiles/SD540C/ or http://mindsensors.com/largefiles/CANLight/ on a different computer. Then copy it to the first computer and use the Local file option.
Click Current version to reset the firmware file selection.
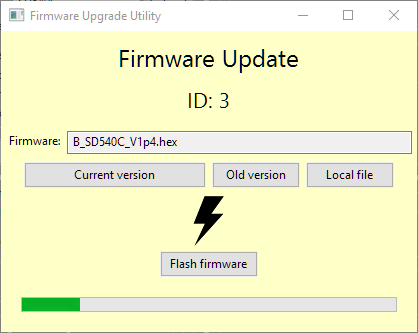
Double-check the ID at the top of the window to make sure you are updating the firmware on the correct device. Power off and disconnect all other devices from the CAN network beside the one you are updating (and the roboRIO). Then click Flash firmware.
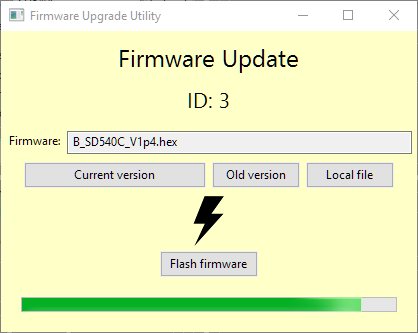
The progress bar at the bottom will steadily fill. You will not be able to interact with or close the firmware update window at this time. If the program halts execution for whatever reason, the firmware update should continue as long as the roboRIO and SD540C or CANLight still have power and a CAN connection. When the update is complete the window will close and the tool will refresh. If your device does not appear try rescanning (remember, Menu->Rescan or Ctrl+R) after a few moments. The versions section in the top left should show the new firmware number.

If you lose access to a device such as by disconnecting it in the middle of a firmware update, you can try recovering it. Go to Menu -> Device recovery.
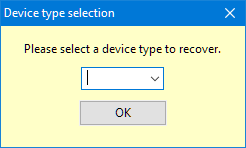
You will then be asked which device type you would like to recover.
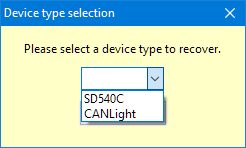
Select SD540C or CANLight.
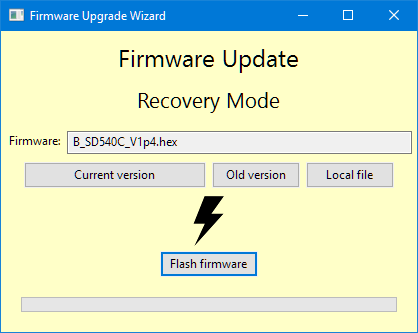
This will open the firmware update window in recovery mode. Again, power off and disconnect all devices beside the roboRIO and the device you are recovering. Now power off the device. The roboRIO should be on and have a CAN connection to the SD540C or CANLight, but the SD540C or CANLight should be off. Select the firmware and click Flash firmware. Now, after you click Flash firmware, connect power to the SD540C or CANLight. It should detect the recovery request and rapidly flash the LED while the progress bar fills.
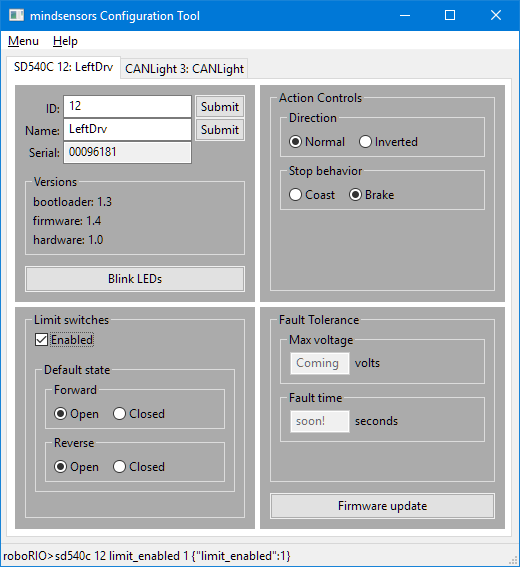
Back on the main SD540C tab, you can configure its limit switch settings here. Again, make sure you are configuring the correct device if you have multiple SD540C's connected and powered on. Each will have its own tab at the top. You can select or deselect the Enabled checkbox to enable or disable limit switch functionality. The checkbox should update a moment after you click it. If it does back to it's previous state, that means the write was unsuccessful. You can look at the status bar at the bottom to see if the command ran. We have a blog post dedicated to limit switches if you are looking for more information.
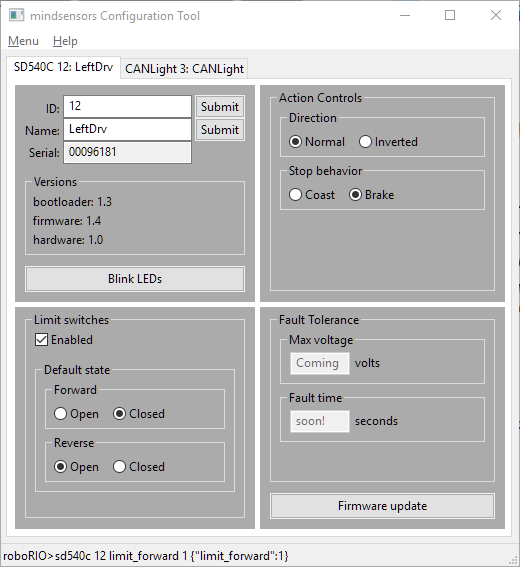
If you enable limit switches then you can configure each direction as normally open or normally closed with the radio boxes below. Again, its state should change a moment after you click it if it was successful. It should not take longer than a second to change a setting.

In the top-right you can set the direction of this SD540C as normal or inverted. This can be useful if you have motors mounted in the opposite direction for drive.
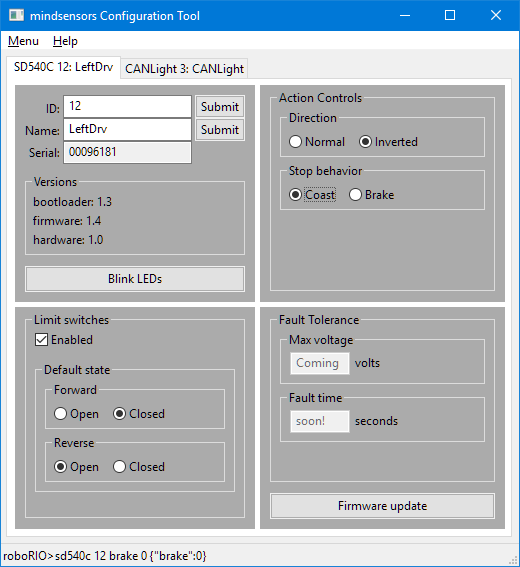
Below this you can change the stop behavior between coast and brake.
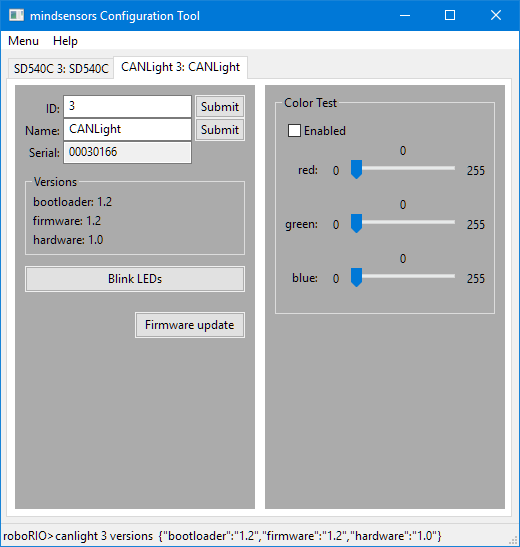
This is what the main CANLight panel looks like. It has the same ID, name, versions, blink LED, and firmware update options as the SD540C.
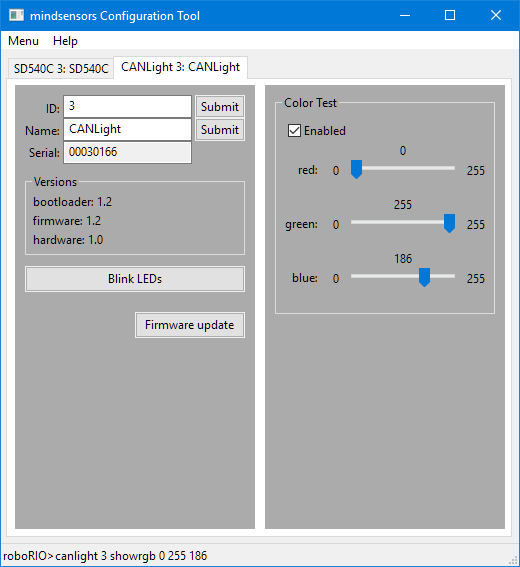
The CANLight has a Color test panel. You can move the red, green, and blue sliders to set a color. If you check the enabled box then the CANLight should update with this color about once a second.
Windows 10
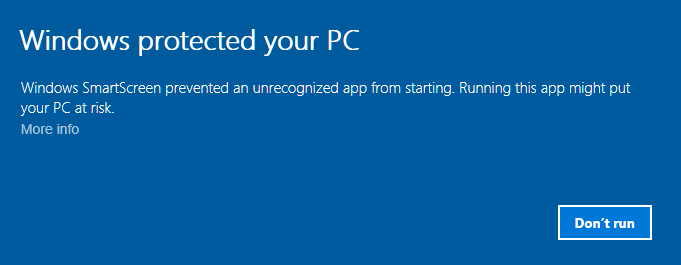
You may see this message upon attempting to launch mindsensorsConfigurationTool.exe on Windows 10.
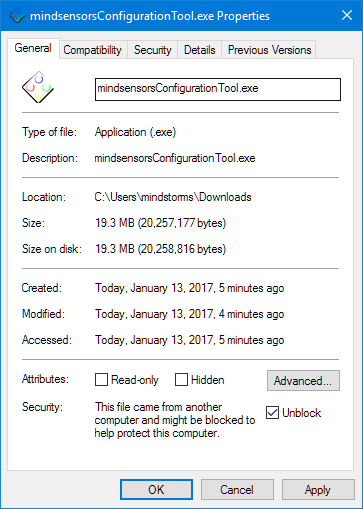
Right-click the .exe and select "Properties" (or use alt+enter). At the bottom left there is an "Unblock" checkbox. Check it and click OK. Try opening it again.
Tips and Troubleshooting
By default each device will have the factory default ID of 3. If you have multiple SD540C's or multiple CANLights, you should give each a unique ID to properly control them and avoid confusion. We suggest you connect only one device at a time when you are first setting them up. Note the SD540C and CANLights have a separate address space. An SD540C with ID 3 will not conflict with a CANLight of ID 3.

