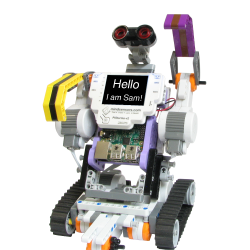

Temperature Tracker: a Grove Sensor Adapter project
The mindsensors Grove Sensor Adapter makes it easy to use a variety of unique Grove sensors with the EV3. Our custom block makes it easy to read the sensor from your program. Here is an example of using it with the temperature sensor.
Design
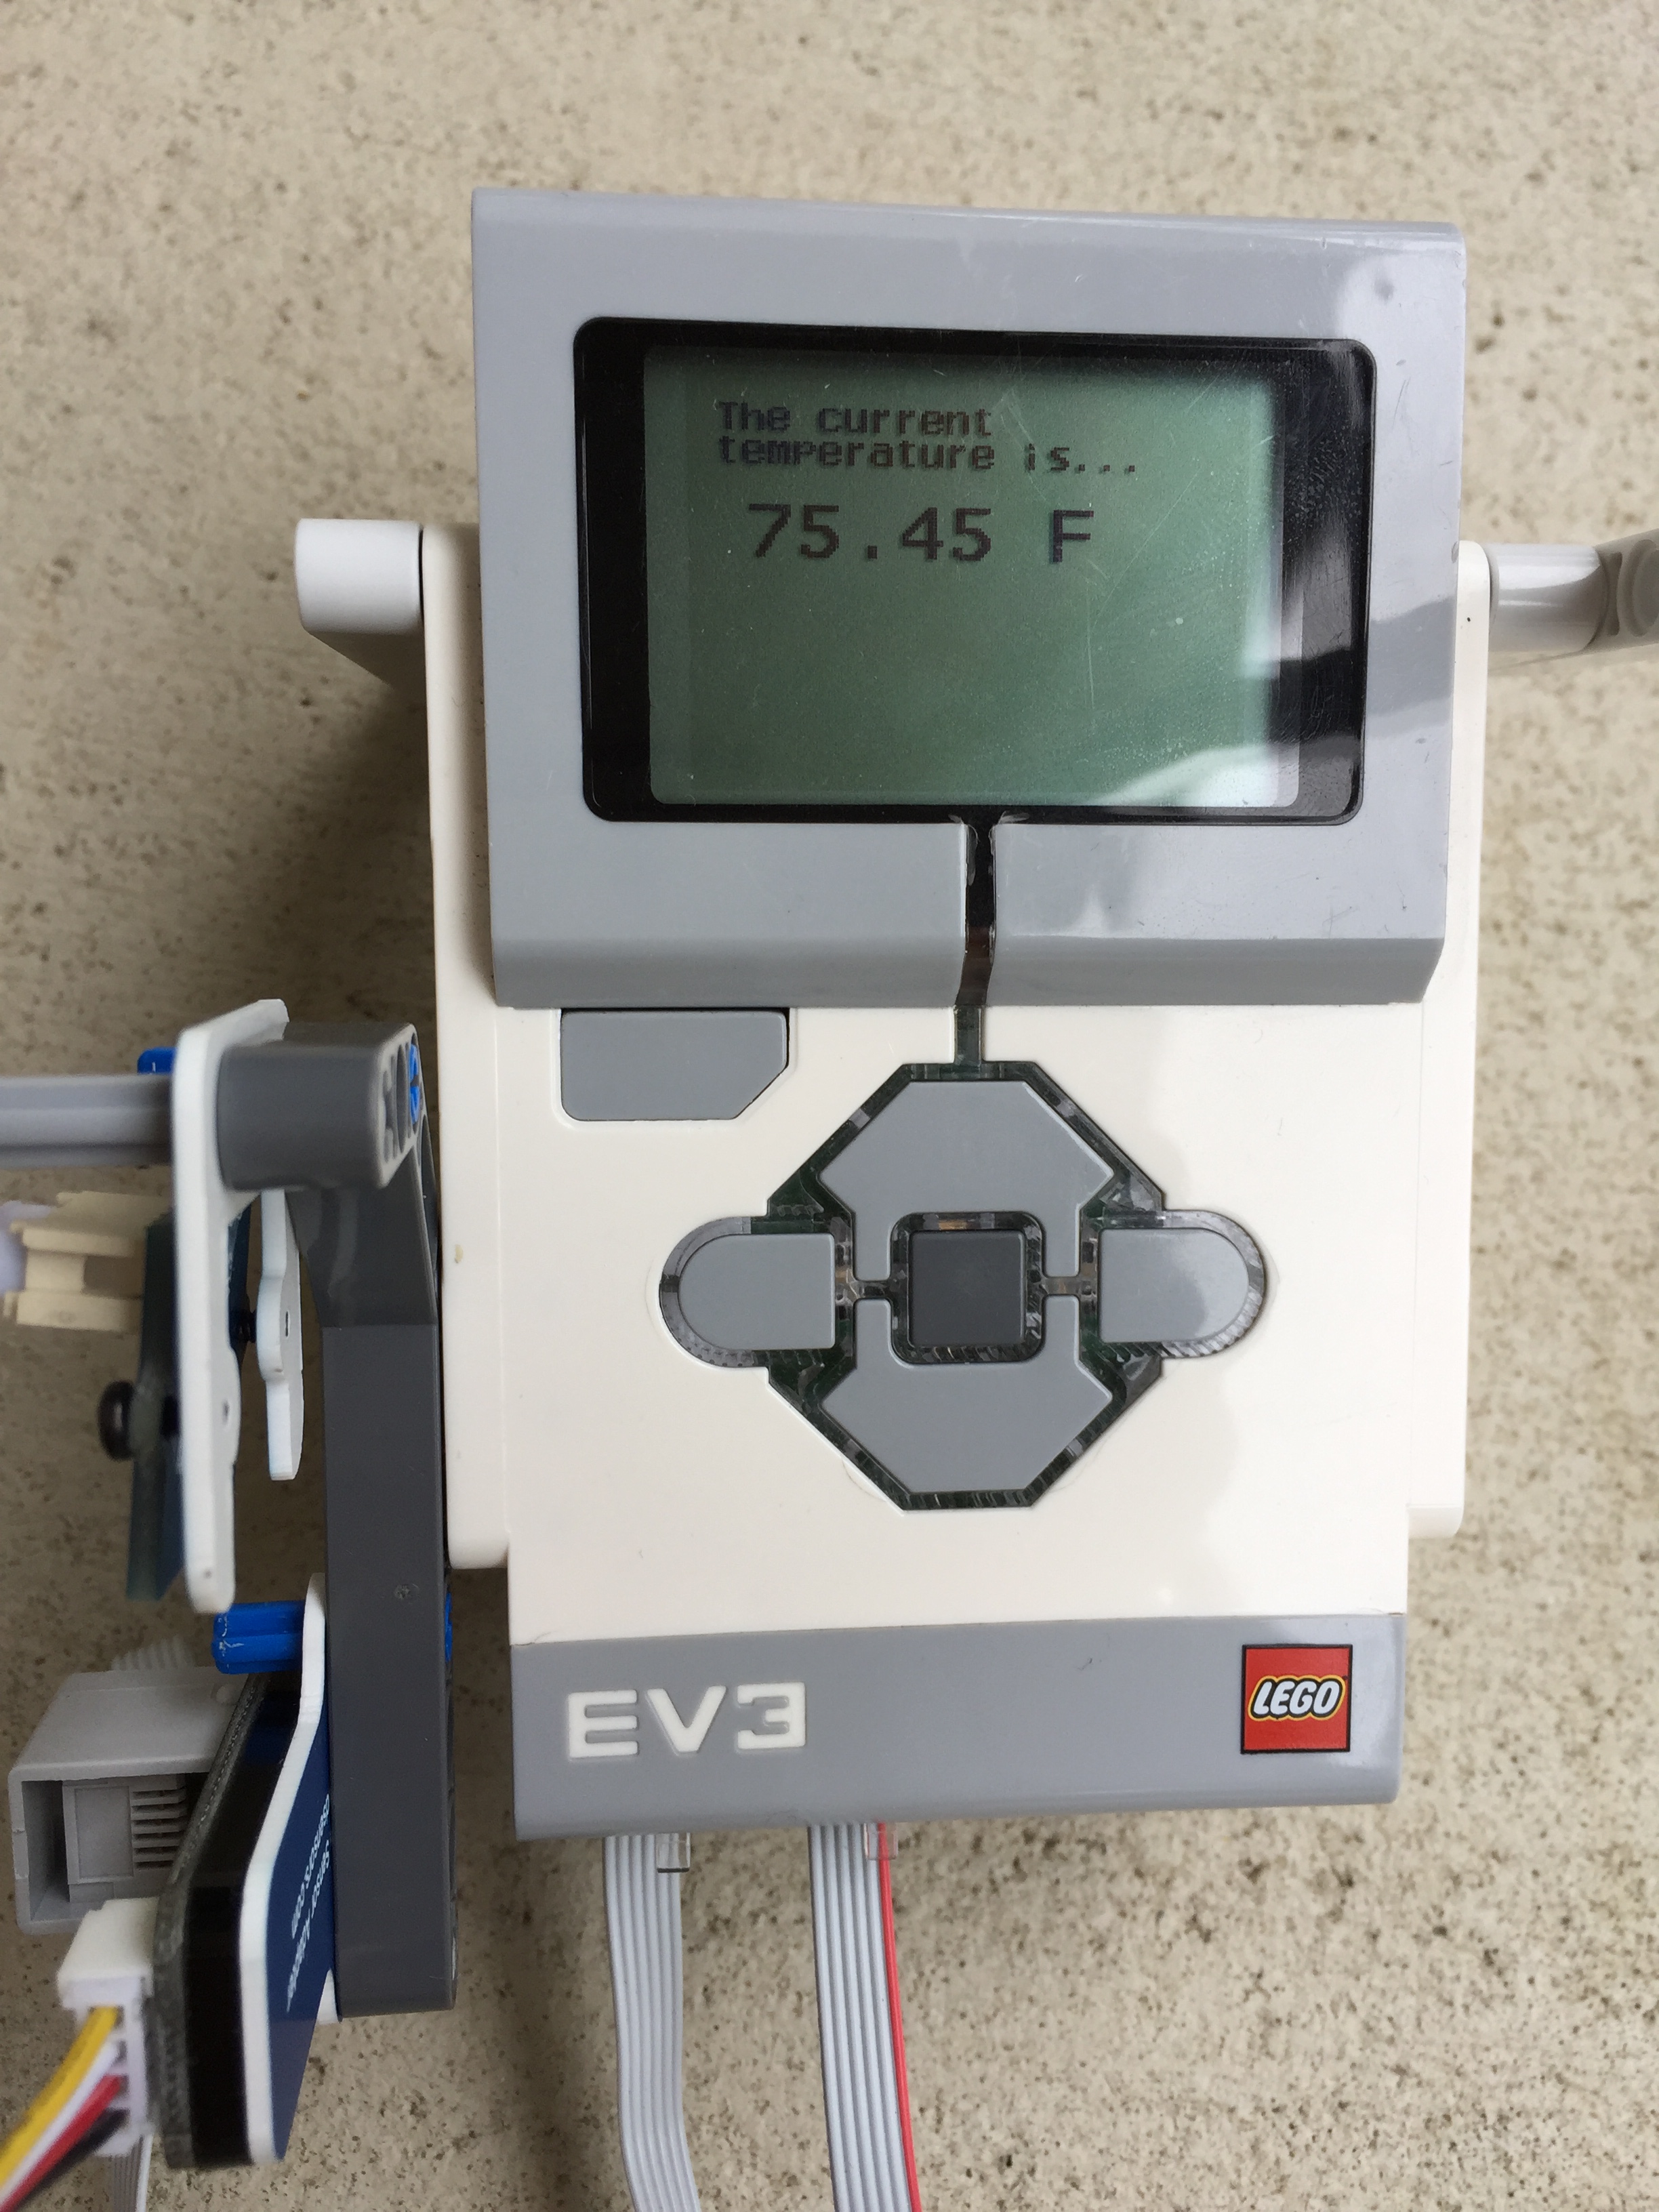
This project uses the Grove Temperature Sensor v1.2 and the mindsensors.com Grove Sensor Adapter. We also use a Grove LED module for some bright feedback. It's very simple to connect the sensor, adapter, and start displaying numbers on screen. Here the temperature is displayed on screen, and an LED lights if it is hot.
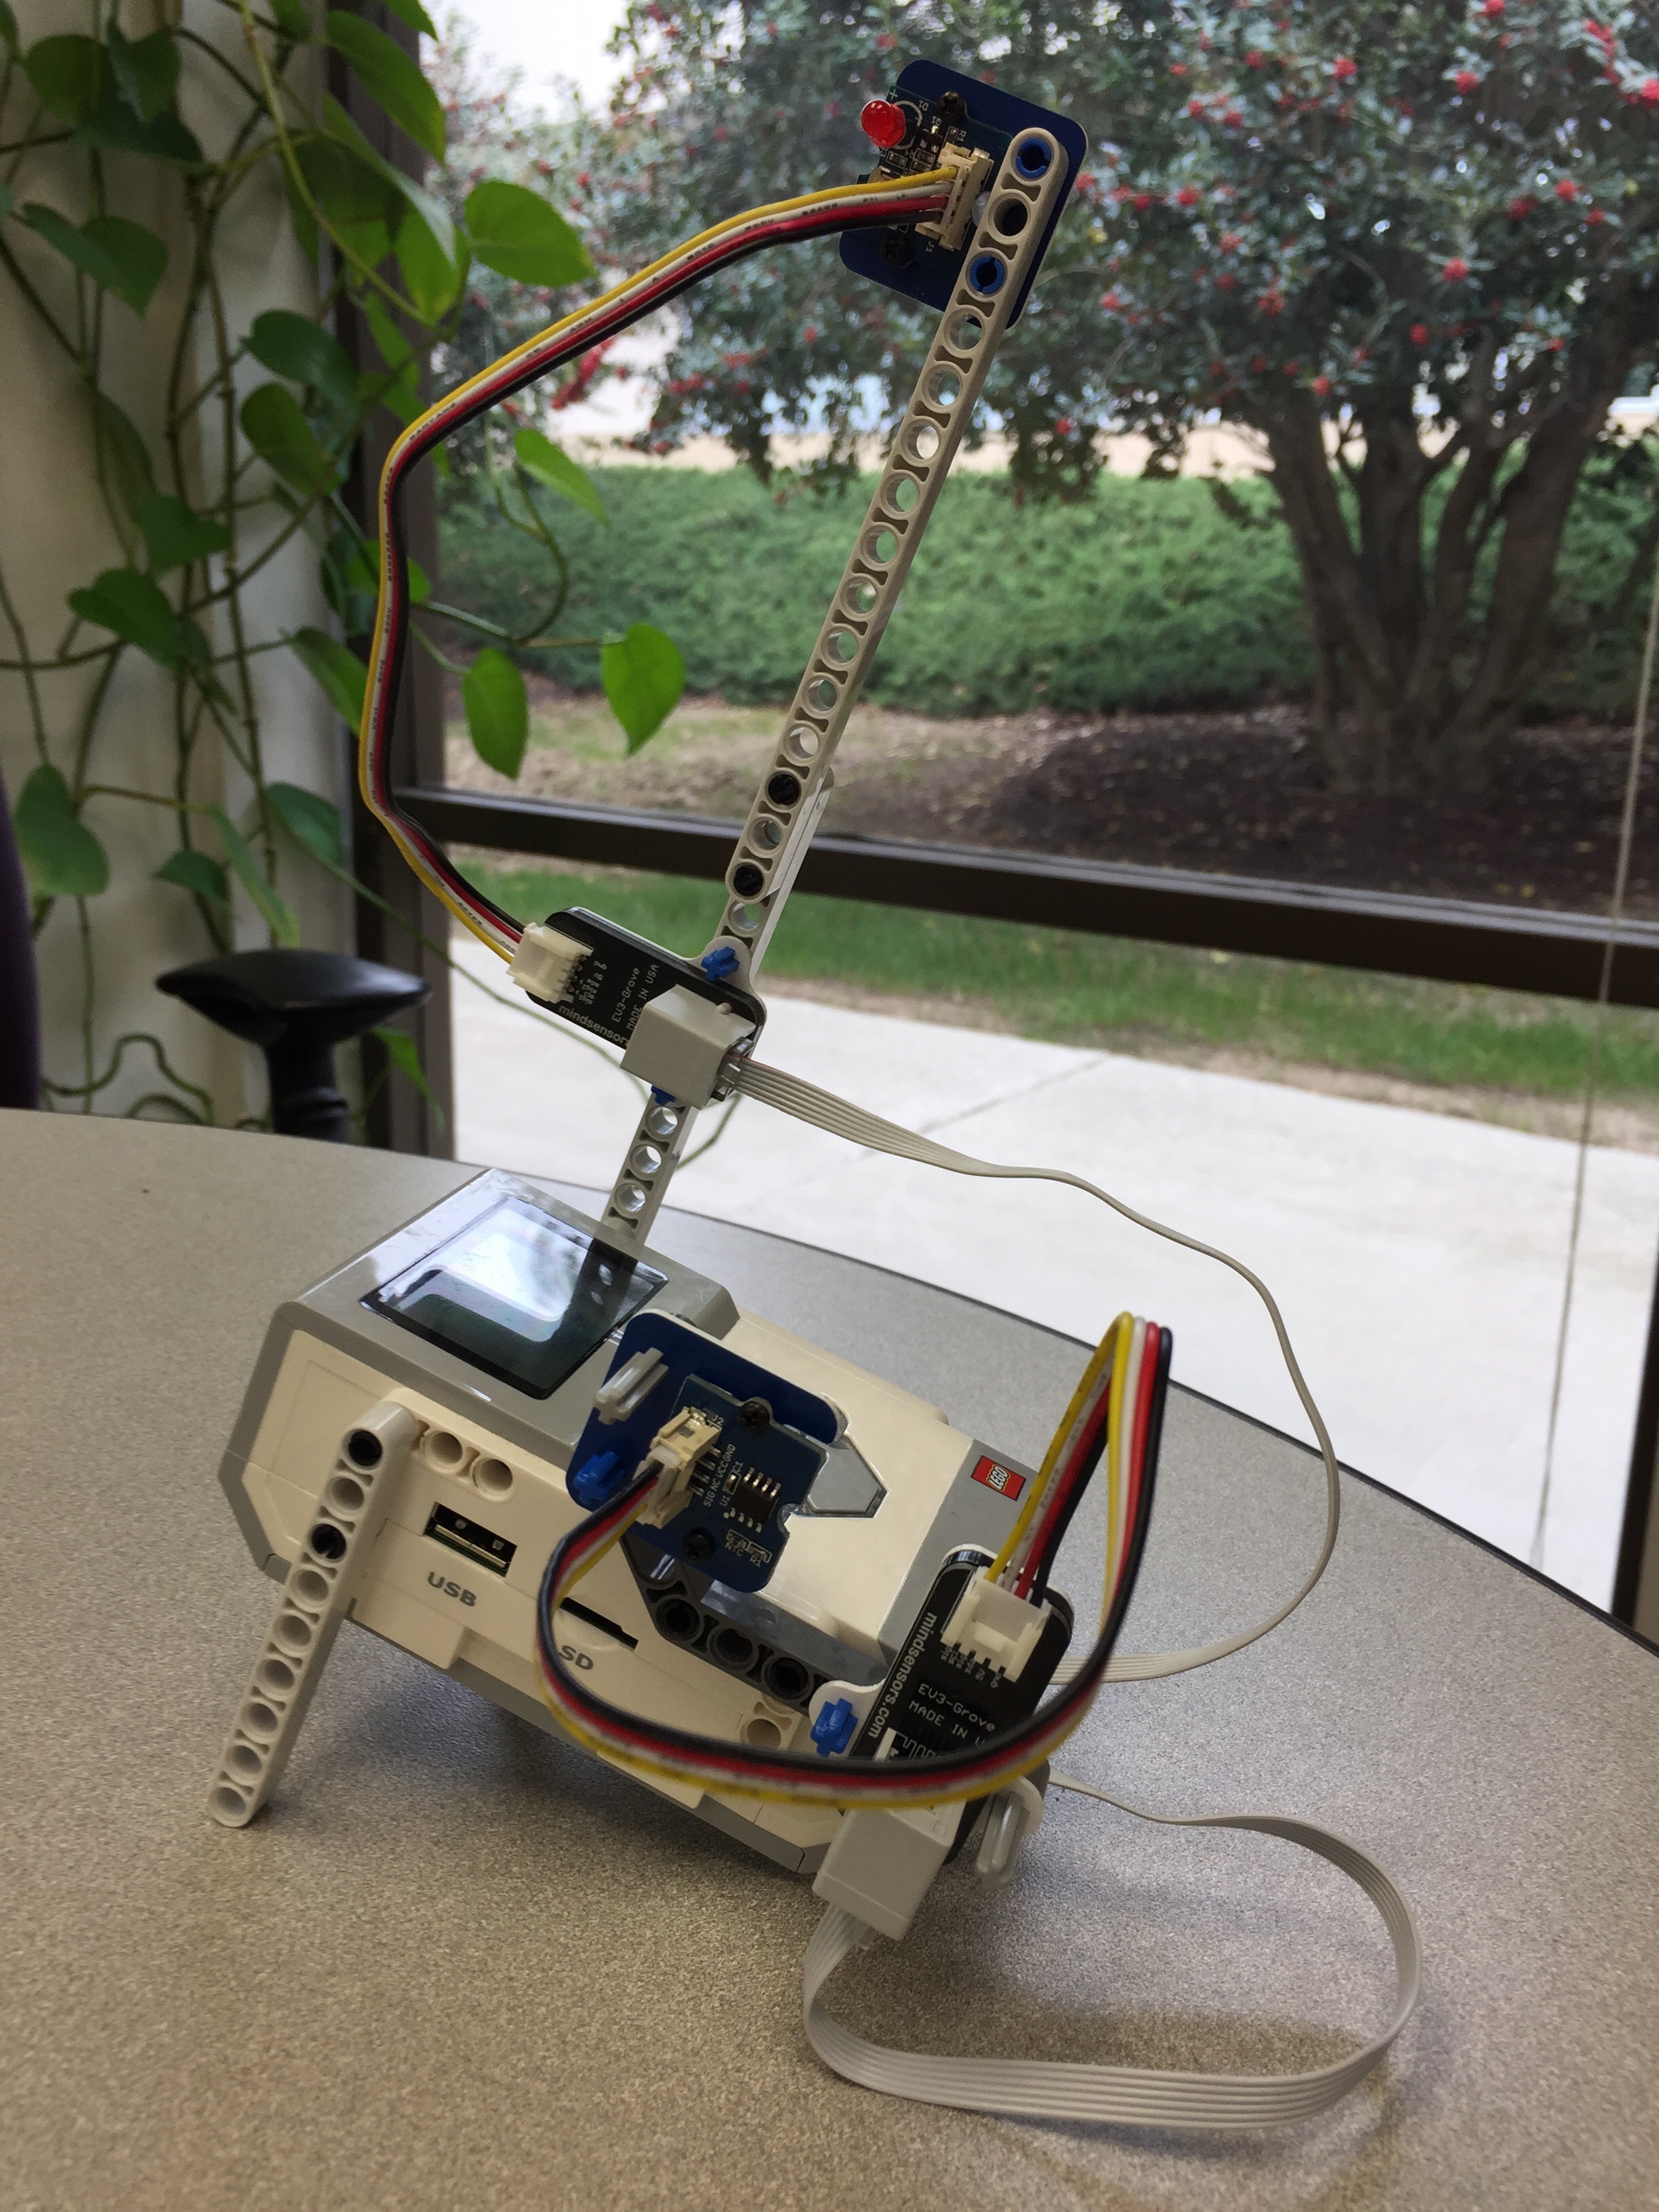
Here is the build. The temperature sensor and Grove Sensor Adapter are mounted on the side, with a Grove LED and Adapter elevated for visibility.
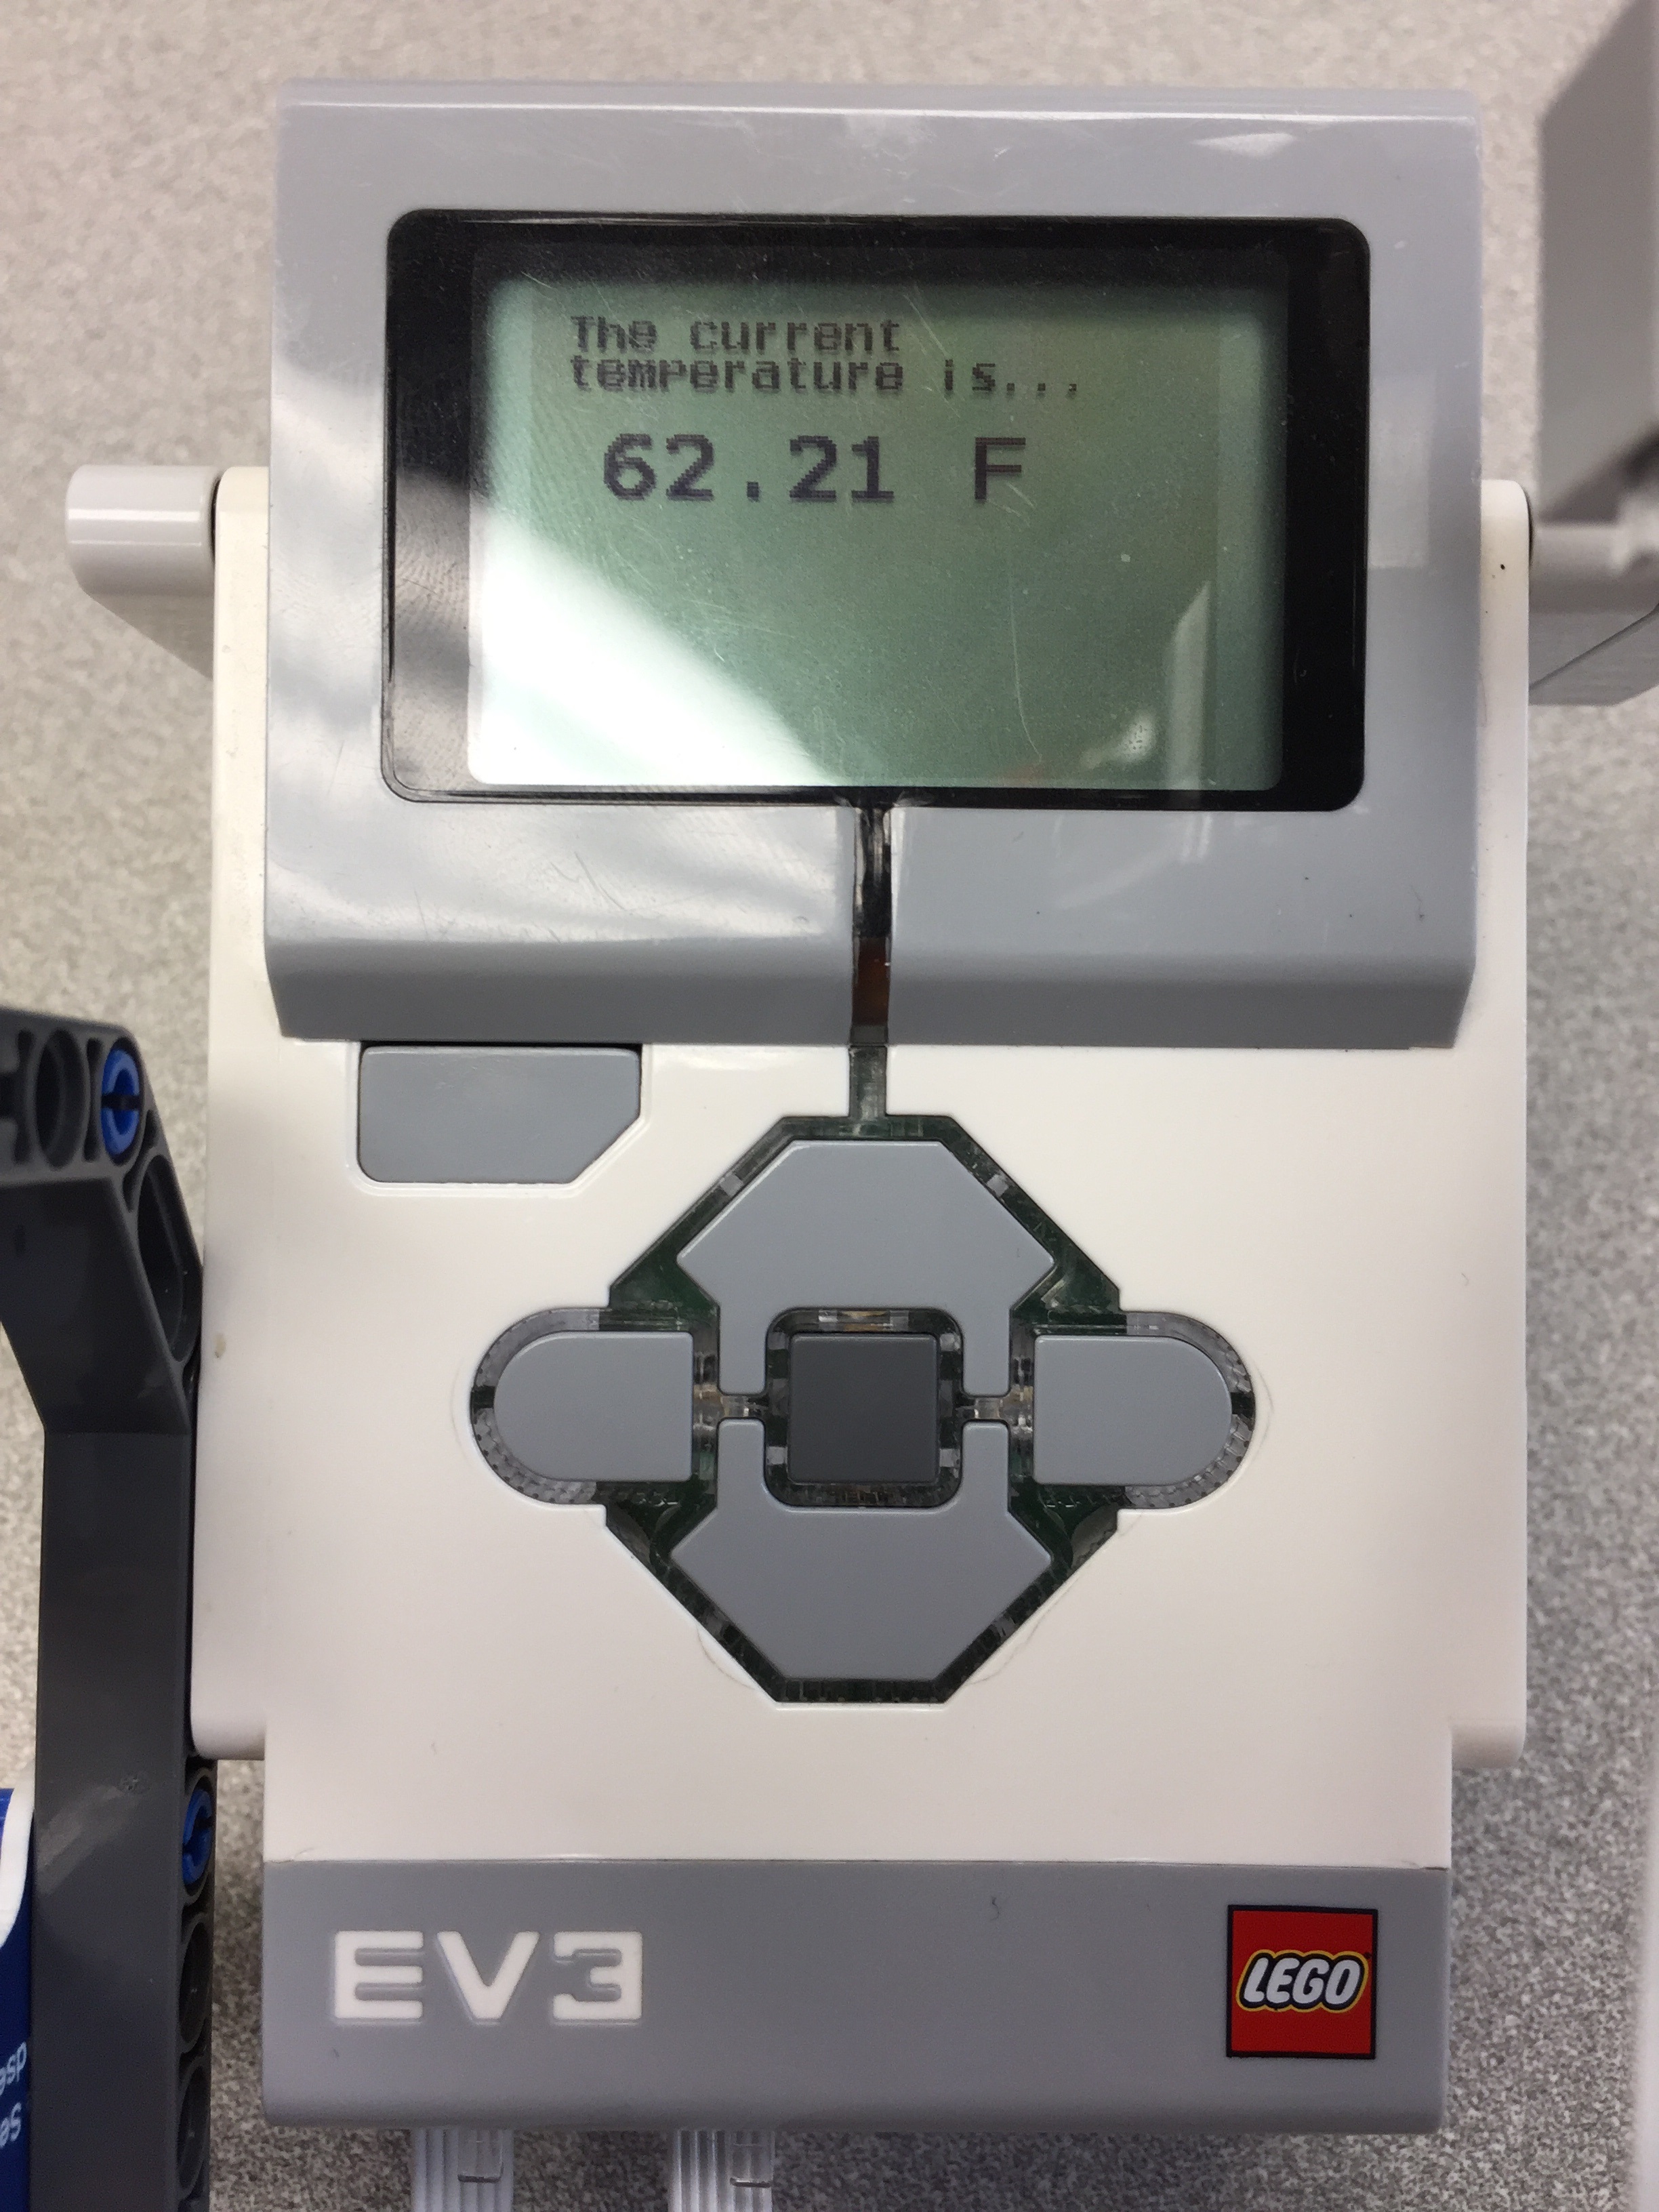
We made it a bit chilly to get a low reading indoors.
Let's bring it outside and take a look!

It had a solid foundation for our experiment.
Quite a bit warmer!
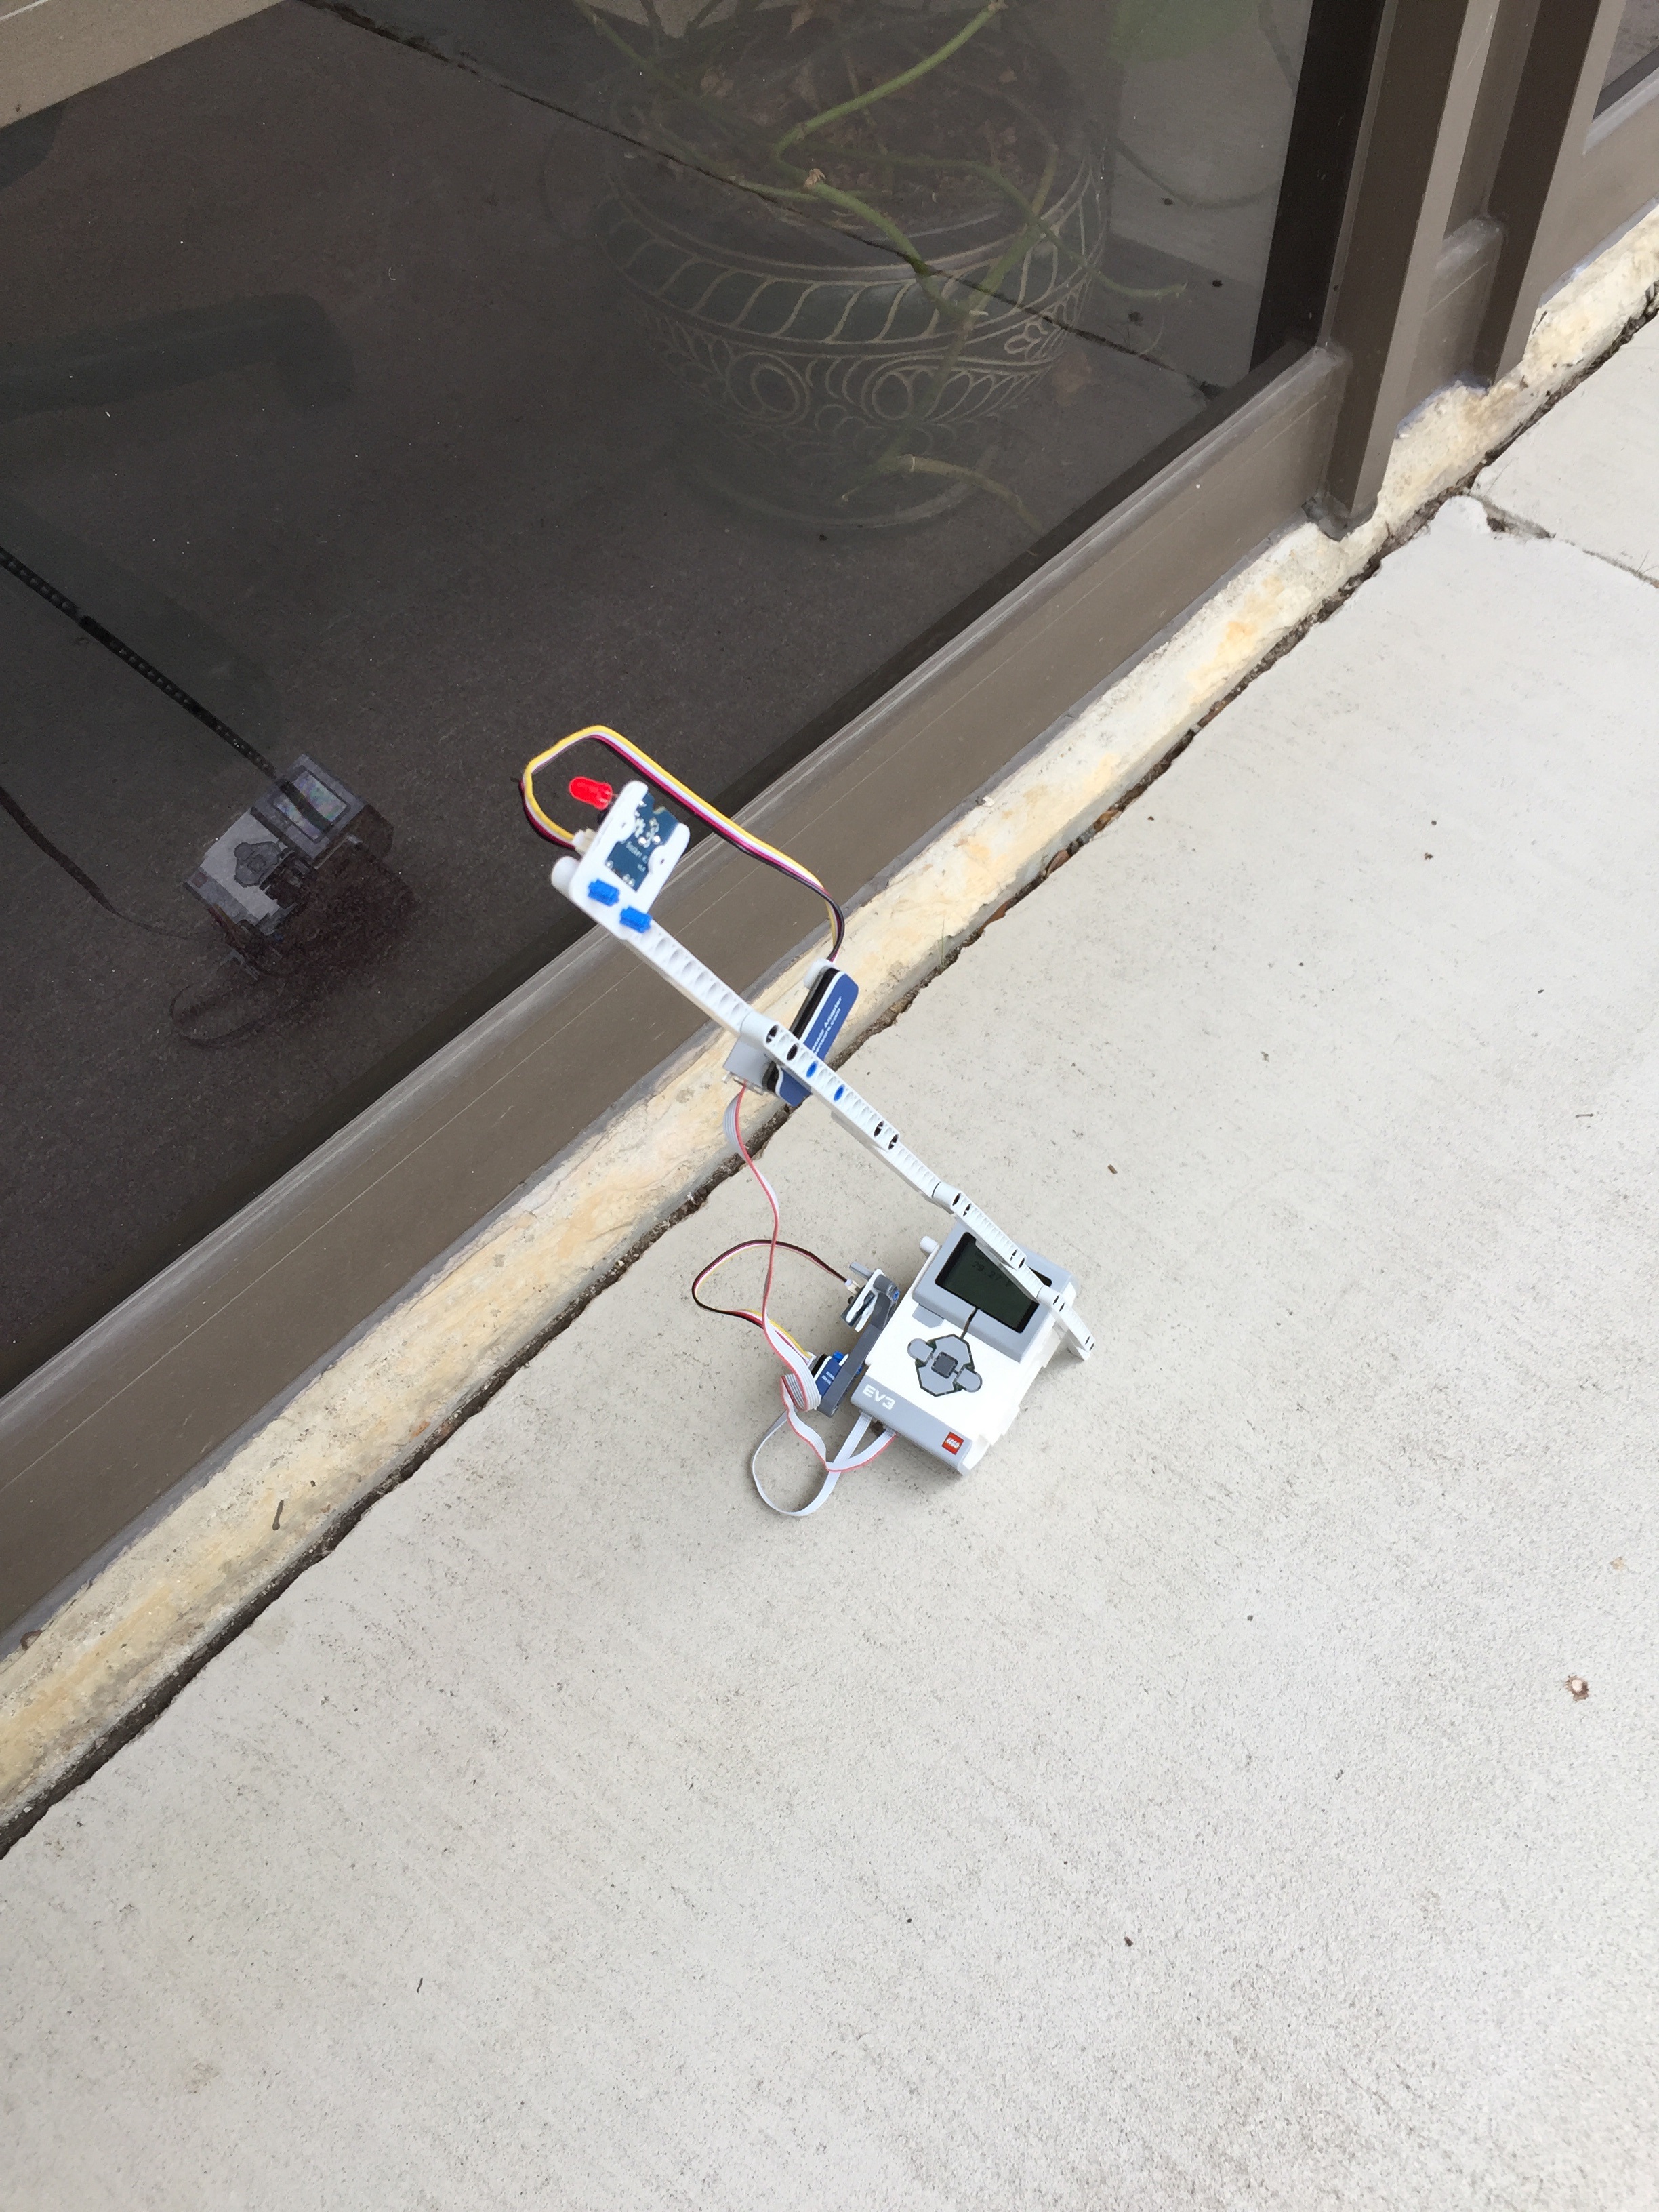
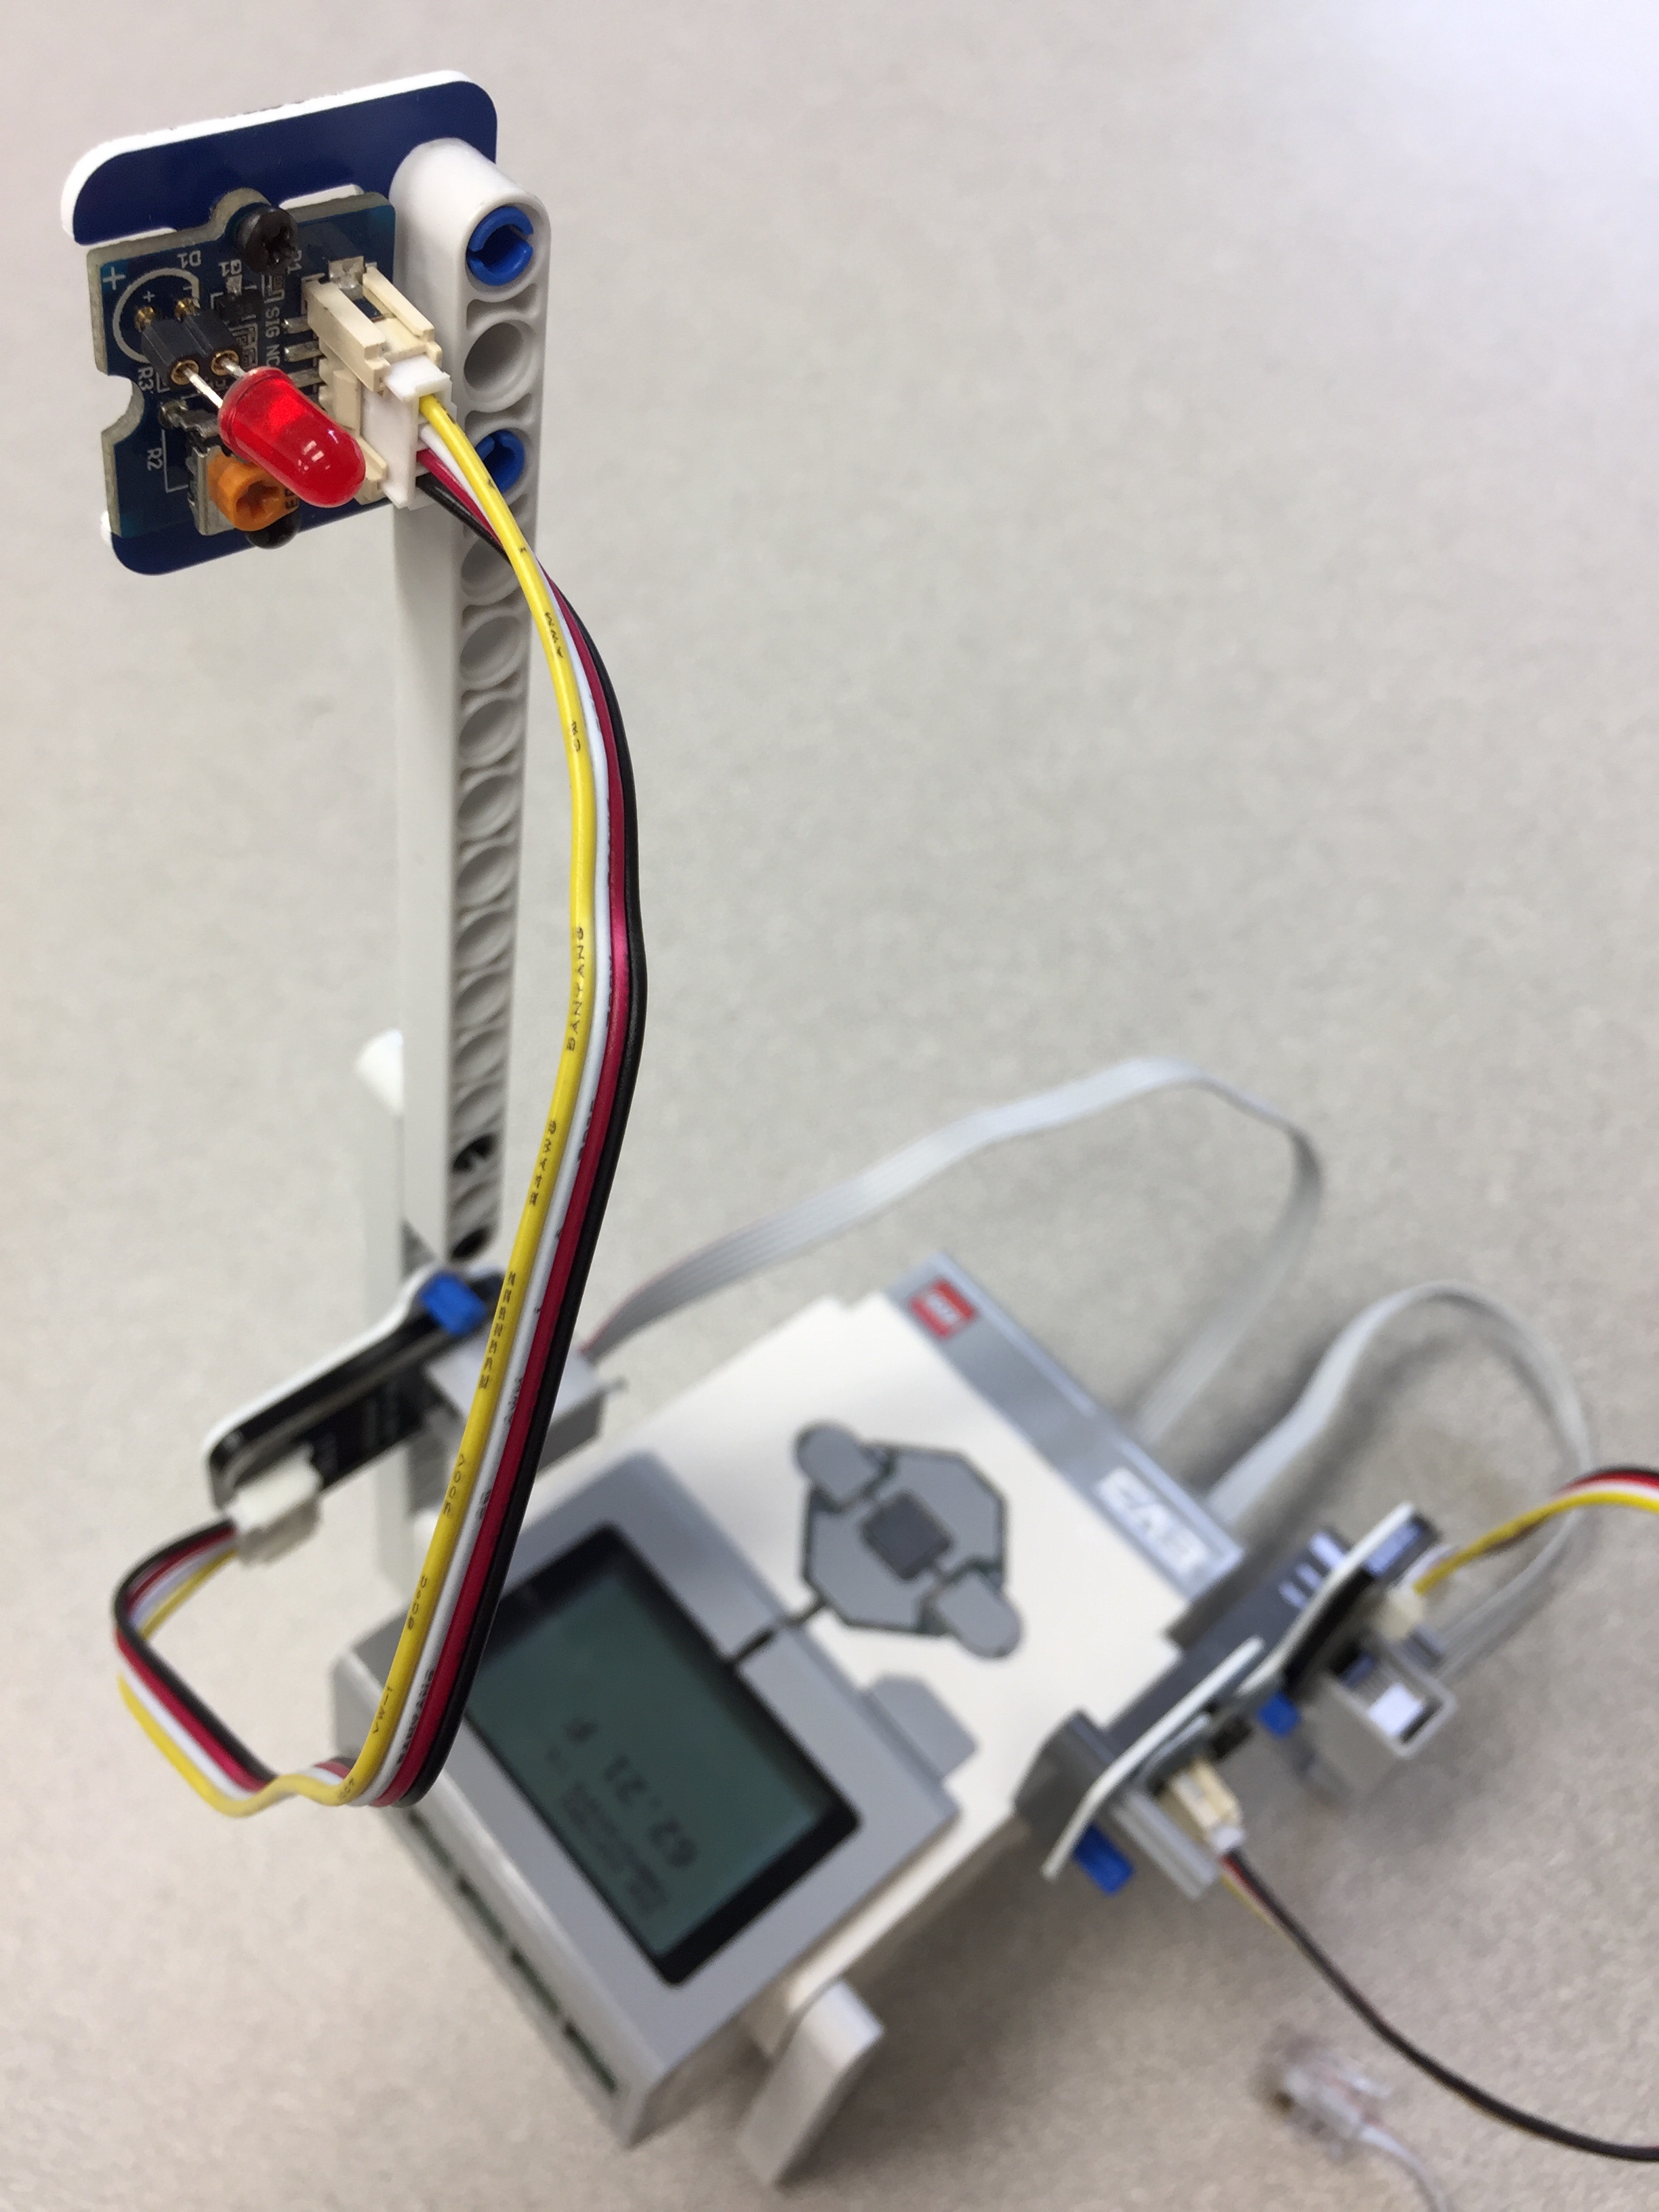
We extended the support beam for the Grove LED to lift it higher...
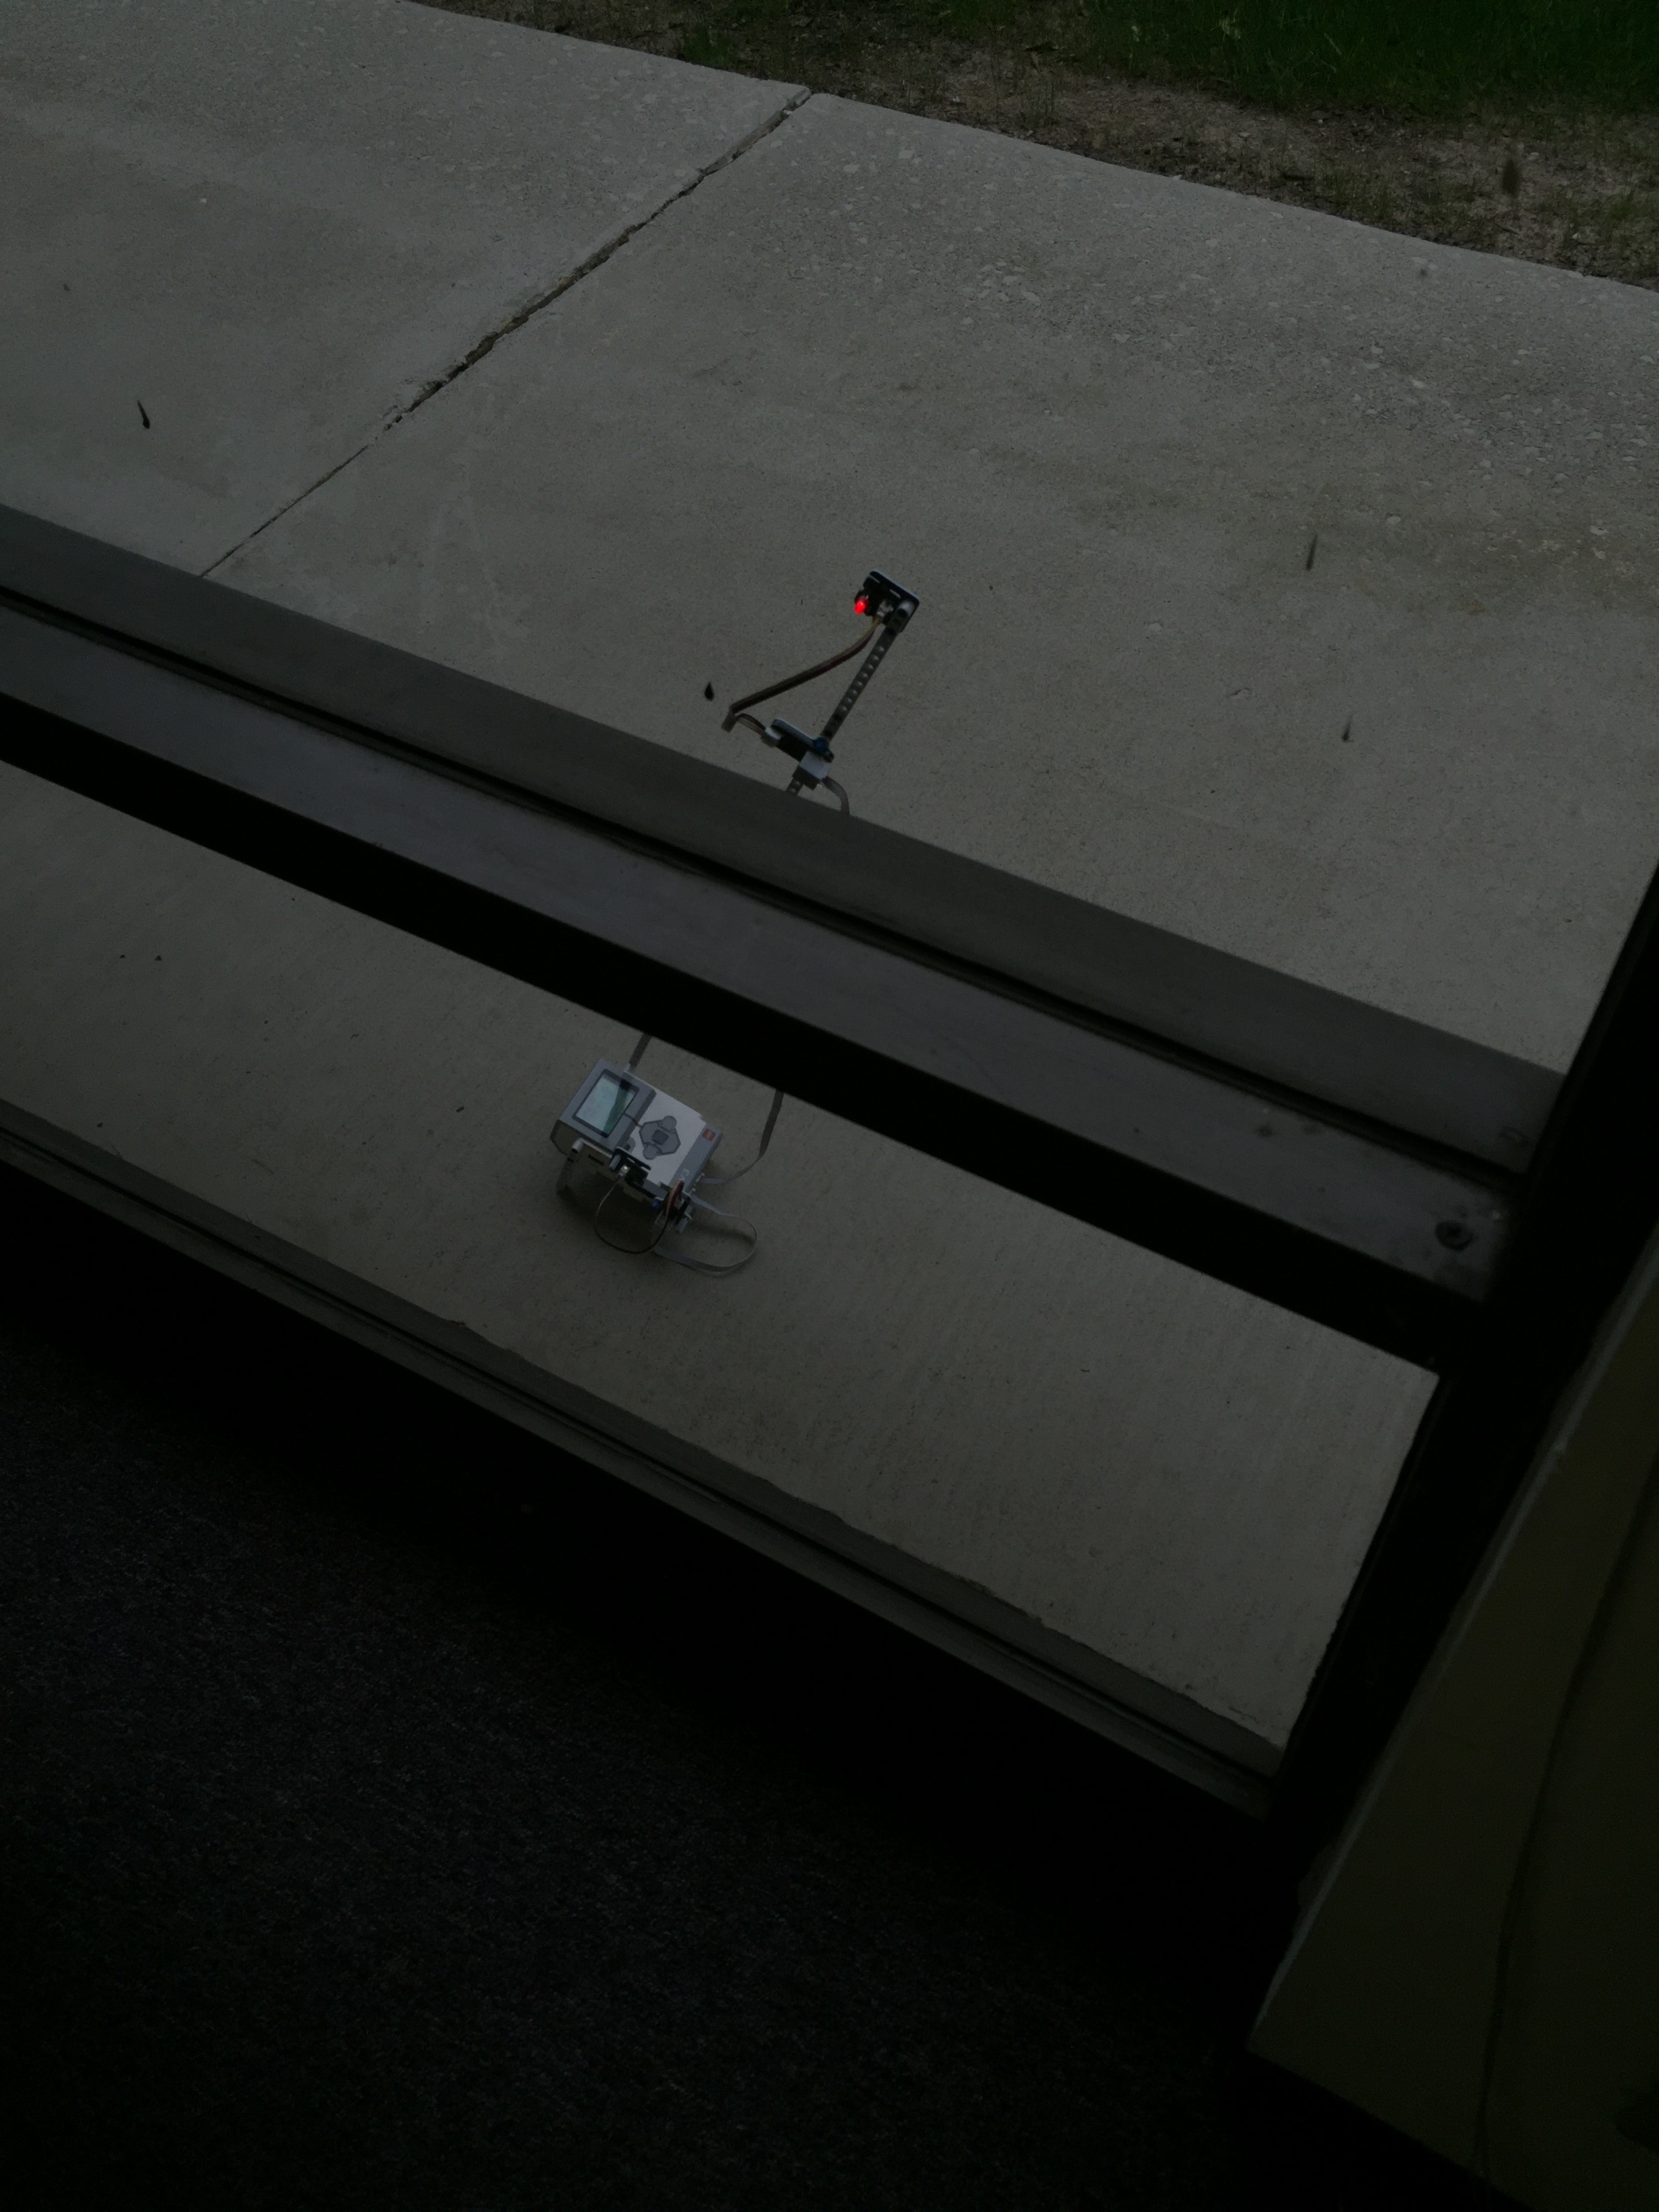
...to be visible even indoors!
Programming it was also a breeze.
Basic Program
![]()
First, we read the raw value from the sensor. This is the default Mindsensors GroveSensorAdapter block, no options need to be changed. Then we need to do some math. From the data sheet we can find the formula to convert the raw sensor value to Celsius. As an American I'm more familiar with Fahrenheit, so I dragged in another math block to do that conversion.
Finally, we want to show the number on-screen. We drag in a Display Action block and change the display mode to Text - Grid. Click the text MINDSTORMS at the top of the block to change it to Wired. Then connect the result of the Math block to the Text input. To have it look a little nicer and have a margin from the edge, I chose an x and y of 2. Click the 0 in the input to change the constants to 2. I also selected 2 - Large for the Font.
That's it! Read, math, display. I added a short delay at the end because the temperature shouldn't be changing much in half-a-second. I surrounded the whole lot with a Loop Flow-Control block, and left the Mode at Unlimited.
Just 7 blocks: Start, Loop, Mindsensors GroveSensorAdapter, Math, Math, Display, Wait
Advanced Program
Let's have a bit of fun and make our program do even more! We can make the text look a bit nicer on screen, and even add an LED to indicate warm weather. We'll also add some checks so we don't show something like -400 degrees if you disconnect the temperature sensor.
![]()
Text and Rounding
Instead of just showing a number, some text to let you know what it means would be helpful. Two new Display blocks at the beginning of the program show "The current temperature is..." at the top of the screen. They are outside of the loop because this text will not change, there is no need to keep printing it over and over again. Note the Clear Screen input was set to False for the following Display blocks, to keep the previous text on screen.
There's no real need for four or five decimal places for temperature, that just makes it harder to read. So, let's round it to two digits! You'll notice the fourth block in the loop, "Round_to_hundredths," is a My Block. We don't really need to see the code for this rounding on the main program, so this My Block simply has a number input and a number output (rounded).
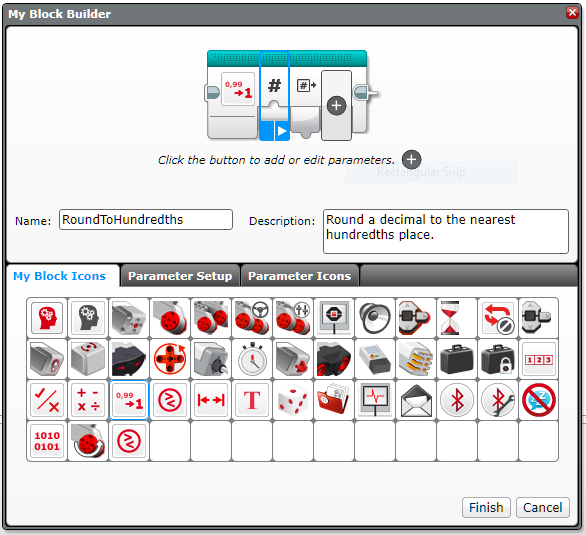
To make a My Block, you click-and-drag to select a group of Blocks, and then go to Tools -> My Block Builder. You can give it a name and description, and change the icon of the Block and Parameters.
So, how do we round to two decimal places? In the Data Operations you'll find a Round block, but this rounds to the nearest whole number. Instead, we multiple by 100 (81.4782° becomes 8147.82° ...hot!), round (8147.82° becomes 8148°), and divide by 100 (8148° becomes 81.48°). Making this My Block keeps our main code clean and let's us reuse this Round_to_hundredths block anywhere else!

Displaying a unit would also be helpful, so we add a Text block from Data Operations. We use it to Merge the now-rounded number and " F". The degree symbol is not allowed, so we use this instead (notice the space!). Finally, we wire that to the Display block, and now we've got some nice-looking text!
Adding the LED
The Mindsensors GroveSensorAdapter makes this very easy. First, we drag a Compare block out from Data Operations. We wire the Fahrenheit number we calculated earlier to 'a', and type a number, say 72, for 'b'. Now the output will be True only if the temperature is greater than 72°. Lastly, we drag out another Mindsensors GroveSensorAdapter block. Change the mode to Digital, and done! The LED will light if the temperature is above the one you chose. Note we connected the LED to sensor port 2, so click the 1 in the top-right of the block and change that to 2.
Error Handling
If you're checking the temperature 120 times per second, there's bound to be an error somewhere. Instead of displaying a ridiculous temperature for a moment, let's handle it properly. Again, we're using a My Block to keep things easy to read. This My Block only outputs a Number.

Don't get intimidated, I'll walk you through the though process step-by-step. First, we take a reading. You can show the number on screen before any math to get an idea of what values this temperature sensor gives. I saw that sometimes it would show 1023 or 8513 if I disconnected the sensor. We check if the value is equal to either number (OR block for if either are equal), then get the opposite with a NOT block. So instead of the output being true if either of the numbers are bad, it will be true if the reading is good, and false if it is wrong.
Then, we combine this with the Success? output from the Mindsensors GroveSensorAdapter block in an AND block. The output will only be true if the read was OK and the number is NOT 8513 or 1023. We wire this to the loop conditional so it will keep reading the temperature until it gets a valid reading (and you have plugged it in). Finally, this My Block is supposed to output a number, so we wire the Analog Sensor Reading to the output at the right. This will give whichever was the last (correct) value.
Extensions
This was, of course, a simple example. Please share your creations with us, you can find instructions for submitting a blog post of your own on the main blog page. Here's an idea to get you started: use Bluetooth to connect your project to a phone, laptop, or another EV3 sitting indoors!
Downloads and Links
|

