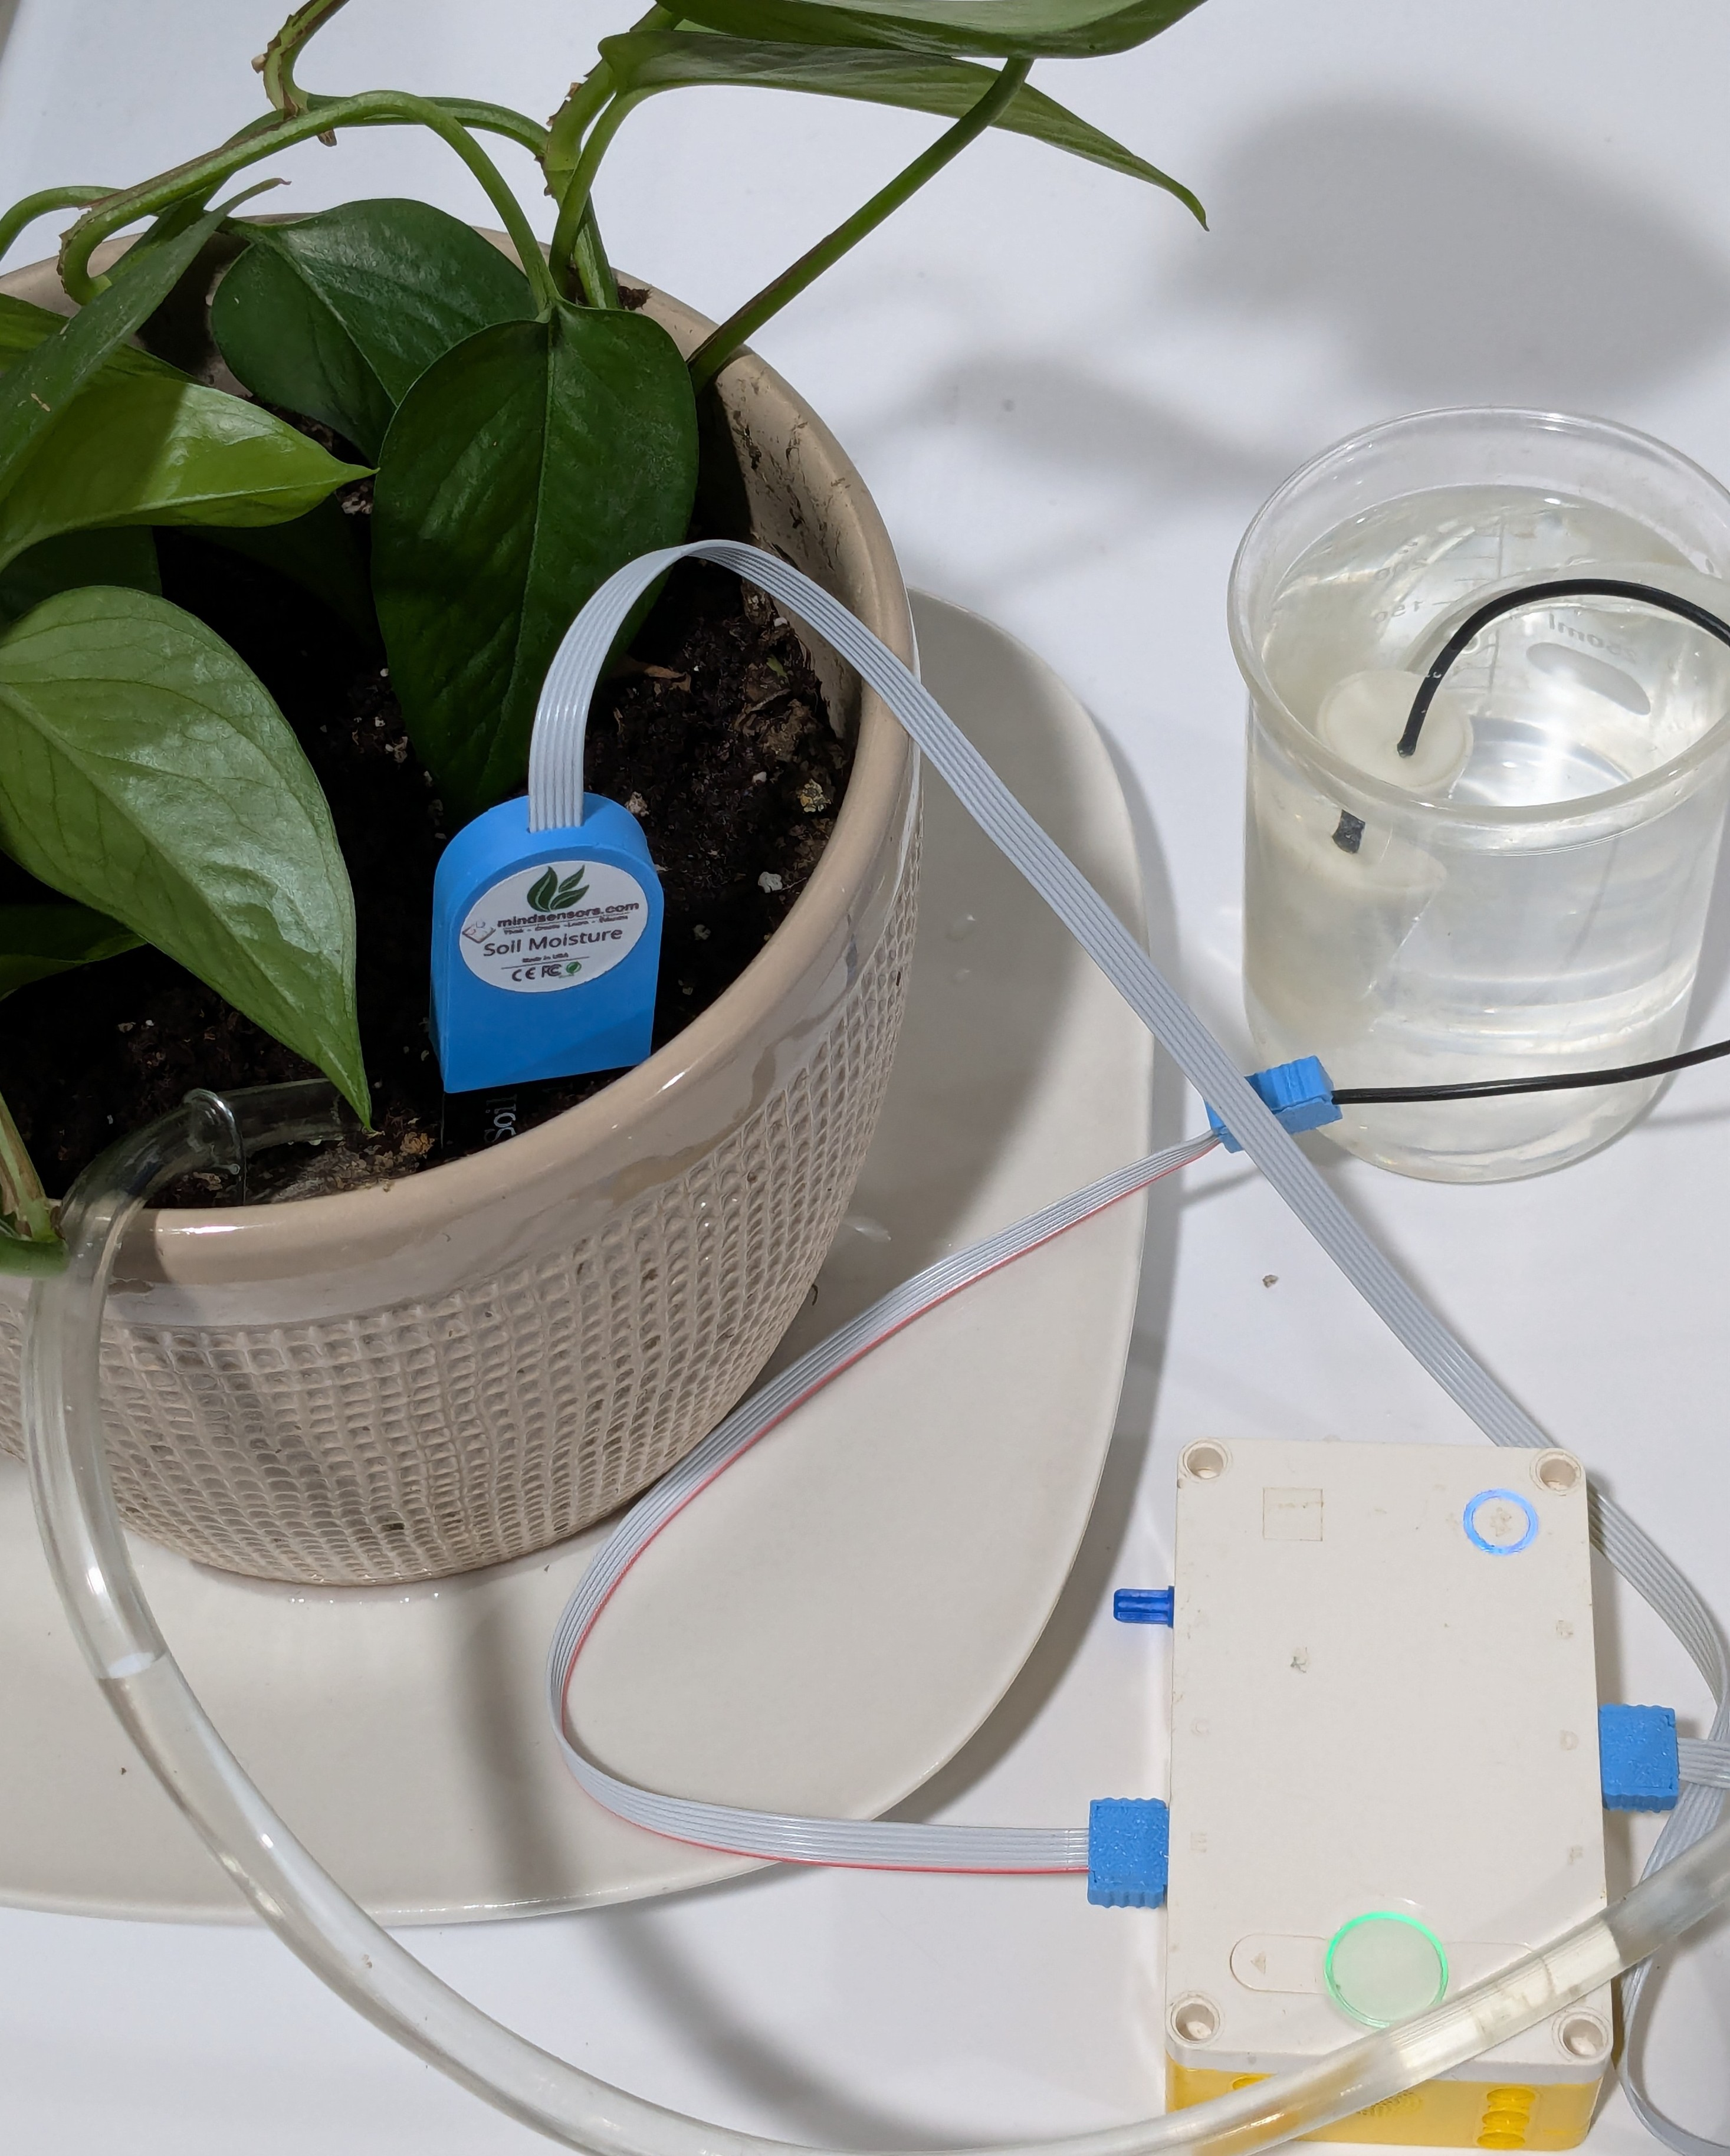
Keeping plants healthy isn’t just about giving them water — it’s about giving them the right amount at the right...
Latest posts
-
 How to Measure Soil Moisture and Use It in Automatic Plant Watering Systemsread more
 -
 USB Driver installation instructions for NXTCam-v503/07/2024read more
USB Driver installation instructions for NXTCam-v5
-
 How to attach rechargeable battery to PiStorms12/07/2023read more
How to attach rechargeable battery to PiStorms
-
 Connect to Wi-Fi Directly from PiStorms!12/02/2017read more
Connect your Raspberry Pi to a Wi-Fi network directly from PiStorms!
-
 Image Recognition Robot with PiStorms and Pi Camera12/02/2017read more
Image Recognition Robot with PiStorms and Pi Camera
-

-
 Rotary Inverted Pendulum with PF-XL Motor and GlideWheel-M12/13/2016read more
Rotary Inverted Pendulum with PF-XL Motor and GlideWheel-M
-

-
 Make Your Own Obstacle Avoidance Robot with SumoEyes12/13/2016read more
Make Your Own Obstacle Avoidance Robot with SumoEyes
-

Blog categories
Search in blog

Sunlight Sensor with the Grove Sensor Adapter
The Grove sunlight sensor is quite versatile, detecting visible, infrared, and ultraviolet light. Specifically, this example project uses the Grove Sunlight Sensor V1.0 and the mindsensors.com Grove Sensor Adapter. As this sensor can do quite a bit more than a basic digital or analog sensor, this will be an example of using the I2C modes from the provided Mindsensors GroveSensorAdapter block.
First let's take a look at some readings from the (attached) example program. As a control, inside we see some pretty standard values with fluorescent lighting. The values are, from top to bottom, visible light, infrared light, and ultraviolet light.
Taking the project outside shows the values you get drastically increase, most notably the detected UV radiation.
Let's take a brief look at the program. This project uses a Grove Sensor Adapter connected to sensor port 1 on the EV3, and the Sunlight Sensor connected on the other end. In our previous few blog posts you've seen examples of using the analog and digital modes of the Mindsensors GroveSensorAdapter block. They make reading single values very convenient, but this sensor uses I2C to provide more functionality.
First we need to check if the sensor is available, and if not wait until it is. The first block enables auto-polling so the Grove Sensor Adapter will continually read from the sensor. The register we chose here will be set to 0x45 (69 in decimal) when it is ready. In a loop we read the value, print it to the screen, and check if it is equal to that value we are looking for.
With the sensor detected and ready we show "Found" on the screen, and drop in the ResetSunlightSensor and DeInitSunlightSensor My Blocks. They will take a second or two to run, but they make all the calls to set up the sensor when the program starts. Then we can start reading values! We enable auto-polling again but on a different register. Previously we were reading the state of the sensor, now we want to poll the light values instead.
Now we have a loop that reads each value and shows it on the screen. We read a value, attach the label, and display it. The UV section has an extra Math block to divide it by 100.
Extensions
Perhaps try incorporating this with the Plant Moisture Monitor project?
Additional references are available on the wiki page for this sensor.
Related posts
-
 Line Following Robot with LightSensorArray or LineLeader
read more
Line Following Robot with LightSensorArray or LineLeader
Line Following Robot with LightSensorArray or LineLeaderread more -
 Attach Mulitple Sensors to a Single EV3 Port
EV3 Sensor Adapter with SPLIT-Nxread more
 -
 Line Tracking Experiments with NXTCam
Posted in: NXT & EV312/02/2015Line Tracking Experiments with NXTCamread more
 -
 Vision for your PiStorms Robot using Pi Camera!
read more
Vision for your PiStorms Robot using Pi Camera!
Vision for your PiStorms Robot using Pi Camera!read more -
 How to install OpenCV on Raspberry Pi and do Face Tracking
read more
How to install OpenCV on Raspberry Pi and do Face Tracking
How to install OpenCV on Raspberry Pi and do Face Trackingread more


Leave a comment