Keeping plants healthy isn’t just about giving them water — it’s about giving them the right amount at the right...
Latest posts
-
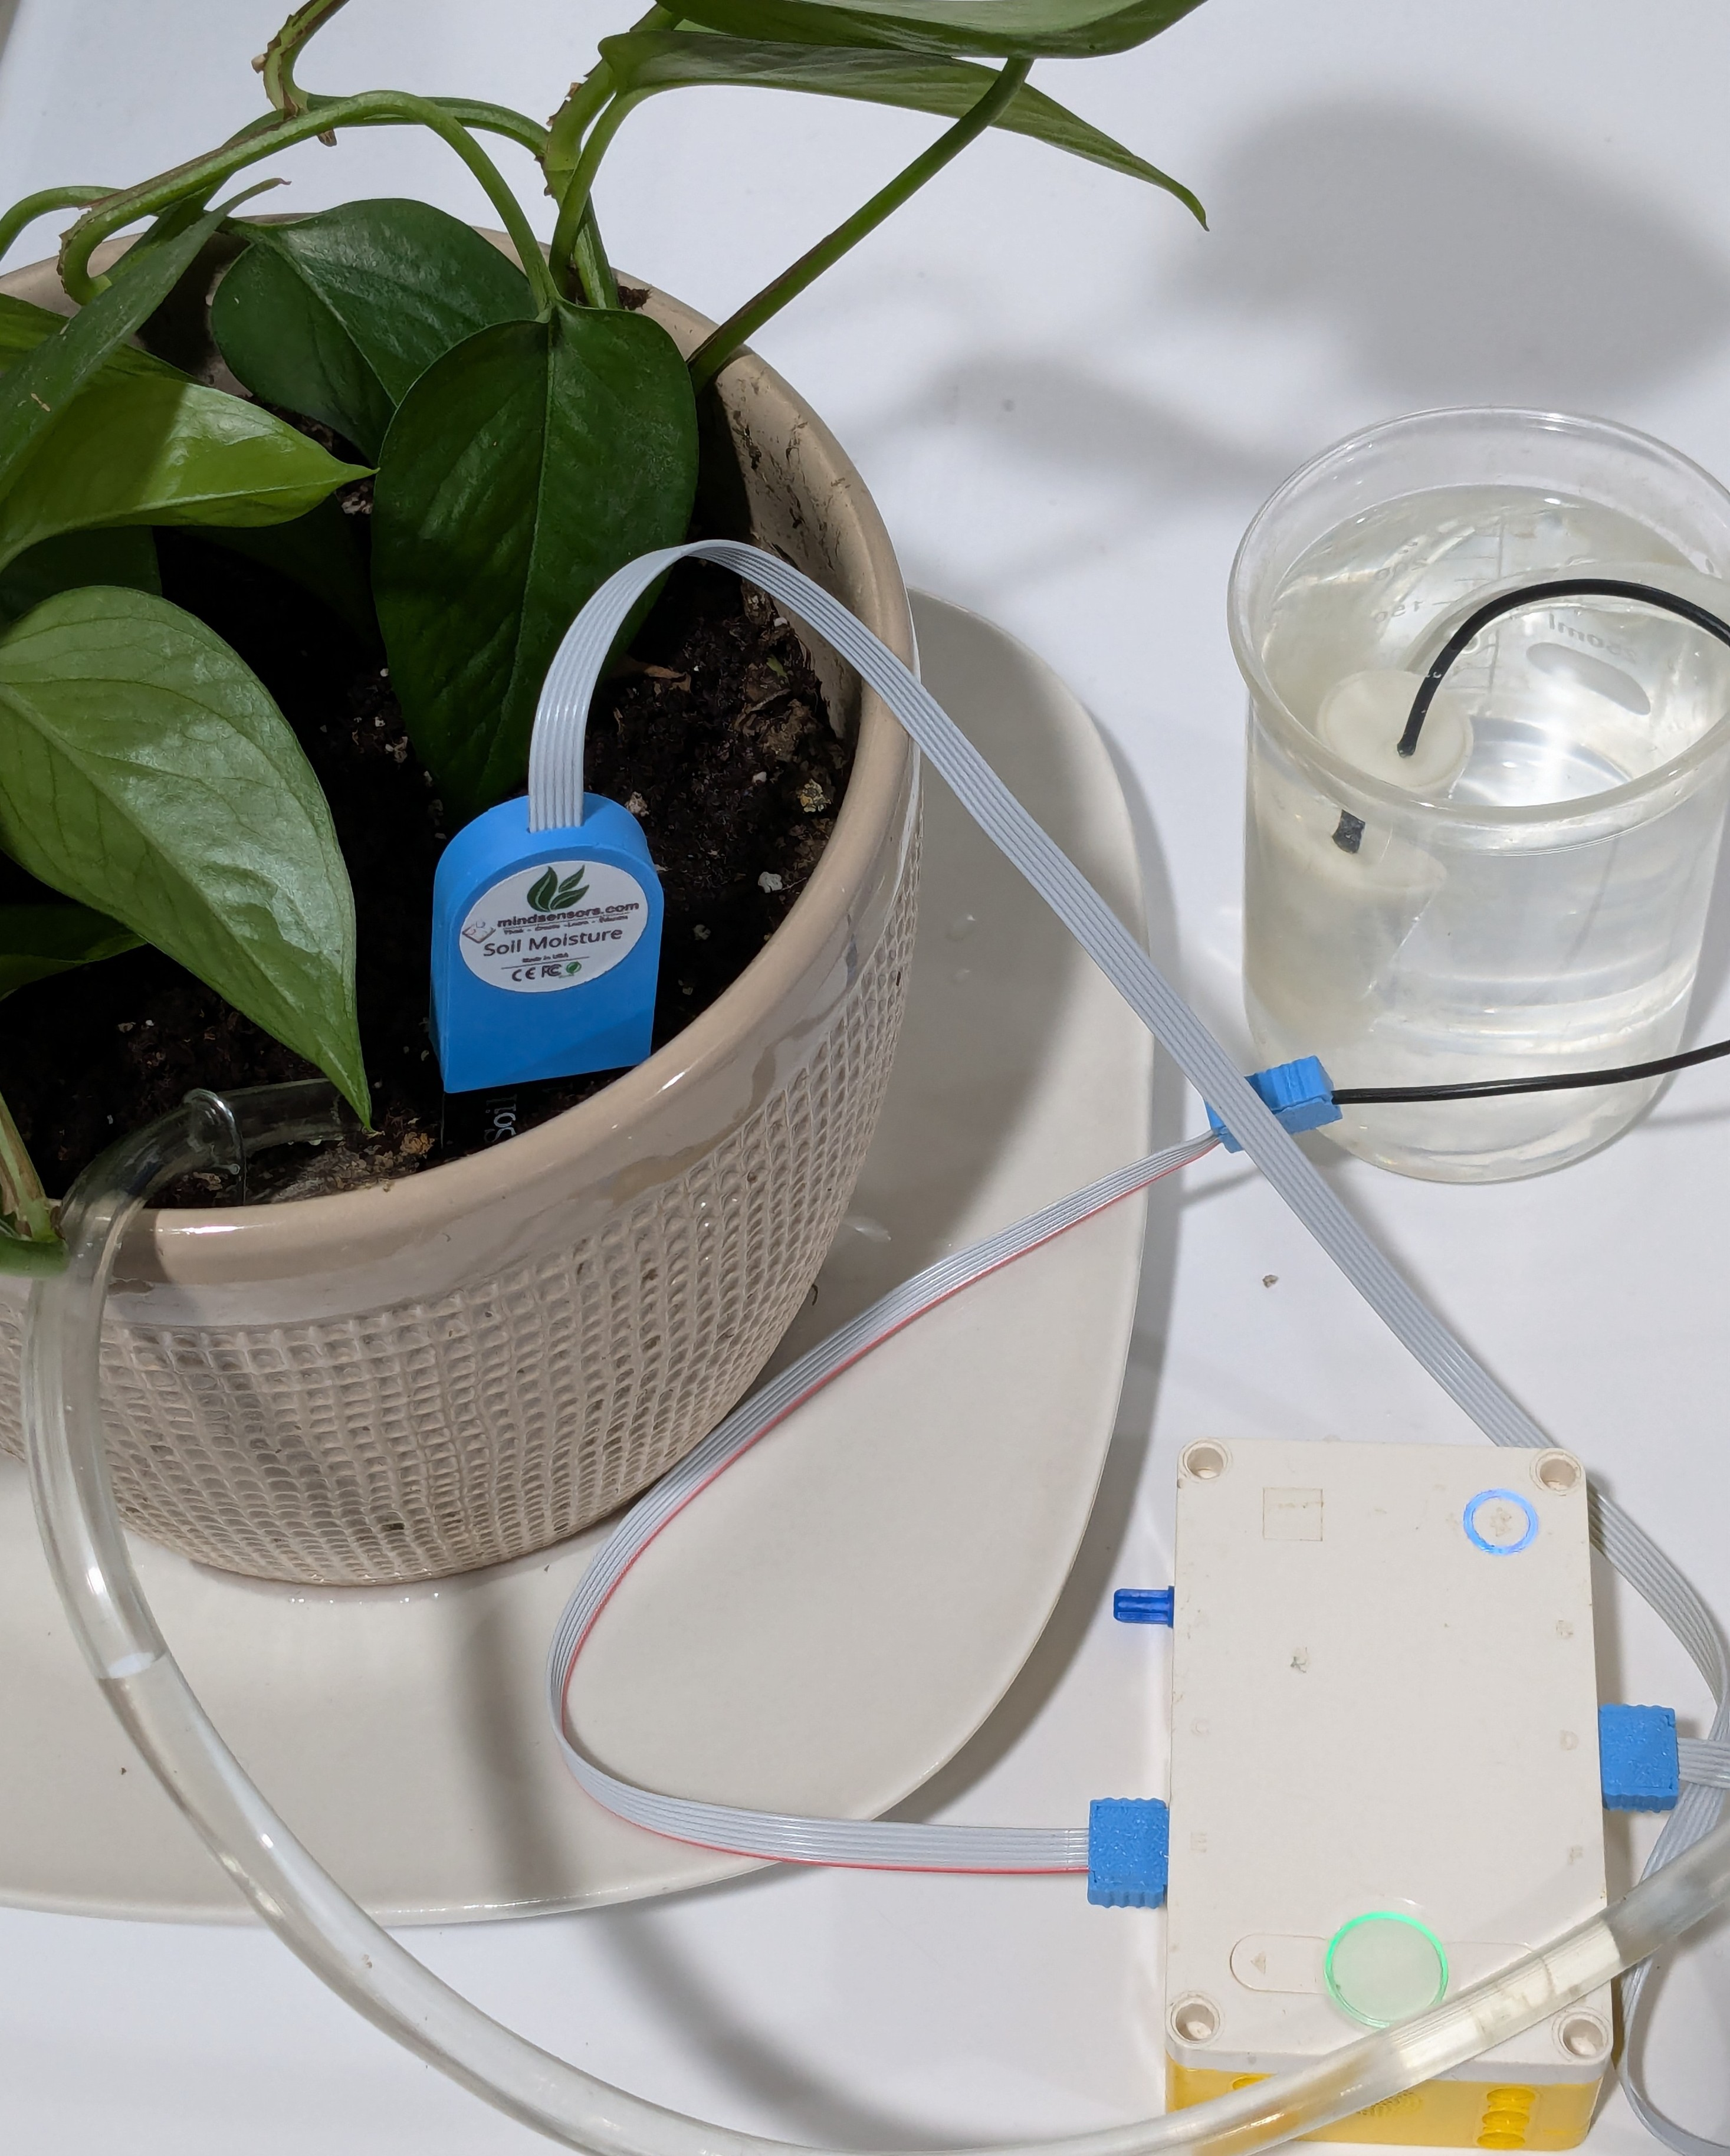
 How to Measure Soil Moisture and Use It in Automatic Plant Watering Systemsread more
 -
 USB Driver installation instructions for NXTCam-v503/07/2024read more
USB Driver installation instructions for NXTCam-v5
-
 How to attach rechargeable battery to PiStorms12/07/2023read more
How to attach rechargeable battery to PiStorms
-
 Connect to Wi-Fi Directly from PiStorms!12/02/2017read more
Connect your Raspberry Pi to a Wi-Fi network directly from PiStorms!
-
 Image Recognition Robot with PiStorms and Pi Camera12/02/2017read more
Image Recognition Robot with PiStorms and Pi Camera
-

-
 Rotary Inverted Pendulum with PF-XL Motor and GlideWheel-M12/13/2016read more
Rotary Inverted Pendulum with PF-XL Motor and GlideWheel-M
-

-
 Make Your Own Obstacle Avoidance Robot with SumoEyes12/13/2016read more
Make Your Own Obstacle Avoidance Robot with SumoEyes
-

Blog categories
Search in blog

More Motors with PiStorms
Introduction
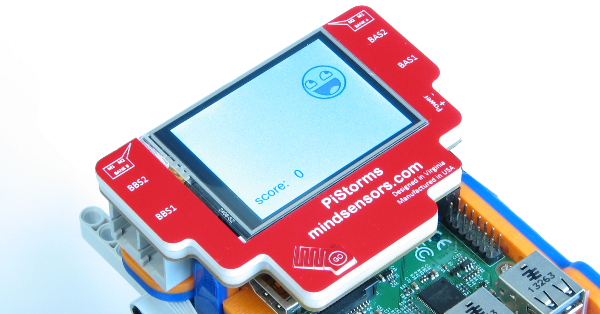
The PiStorms board has four sensor ports and four motor ports. As shown below.

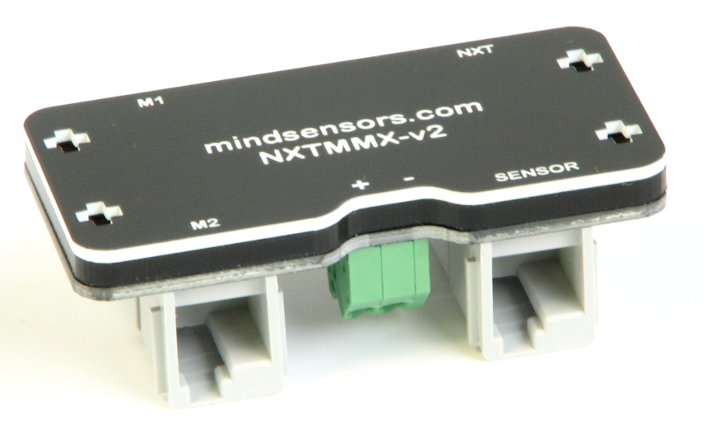
The NXTMMX has two motor ports, a sensor port, and the NXT port. As shown below.
Connecting a NXTMMX to the 1 out of 4, PiStorms sensor ports gives us full access to the NNXTMMX. This would include the two motor ports and the sensor port. Since there are four sensor ports on the PiStorms we can connect four NXTMMX to each one.
How It Works
First using an NXT cable you must connect the NXT port on the, NXTMMX to any sensor port on the PiStorms. Now you need a power supply for the NXTMMX. The NXTMMX requires a 9 volt power supply, so a 6AA battery pack should do the trick. you must call the appropriate functions . If you have already installed the Pistorms software, you can call by using this command at the beginning of your python program.
from PiStorms import PiStorms
from mindsensors_i2c import mindsensors_i2c
from mindsensors import MMX
Now you must right python code to initialize the correct sensor port to read and write i2c. You can do this by entering the following command:
psm.BAS1.activateCustomSensorI2C()
Now set the function MMX(), to a variable with its i2c address, leaving the parathesis blank will use the default NXTMMX address. IF YOU ARE USING MORE THAN ONE NXTMMX YOU MUST ENSURE THAT ALL NXTMMX'S HAVE DIFFERENT I2C ADDRESS. You can do this by follow the instructions found HERE
mmx1 = MMX()
mmx2 = MMX(0x08) #0x08 is the new i2c address we changed for the second NxtMMX
This allows you to use all of the commands for the MMX in the mindsensors.py API, for example.
mmx1.setSpeed(1, 100) #1 for motor 1, 100 for motor speed
mmx1.setSpeed(2, 100)
mmx2.setSpeed(2, -100)
You can download the example python program used HERE.
Related posts
-
 Line Following Robot with LightSensorArray or LineLeader
read more
Line Following Robot with LightSensorArray or LineLeader
Line Following Robot with LightSensorArray or LineLeaderread more -
 Attach Mulitple Sensors to a Single EV3 Port
EV3 Sensor Adapter with SPLIT-Nxread more
 -
 Vision for your PiStorms Robot using Pi Camera!
read more
Vision for your PiStorms Robot using Pi Camera!
Vision for your PiStorms Robot using Pi Camera!read more -
 How to install OpenCV on Raspberry Pi and do Face Tracking
read more
How to install OpenCV on Raspberry Pi and do Face Tracking
How to install OpenCV on Raspberry Pi and do Face Trackingread more -
 How to Upgrade PiStorms Firmware
read more
How to Upgrade PiStorms Firmware
How to Upgrade PiStorms Firmwareread more

Leave a comment