Keeping plants healthy isn’t just about giving them water — it’s about giving them the right amount at the right...
Latest posts
-
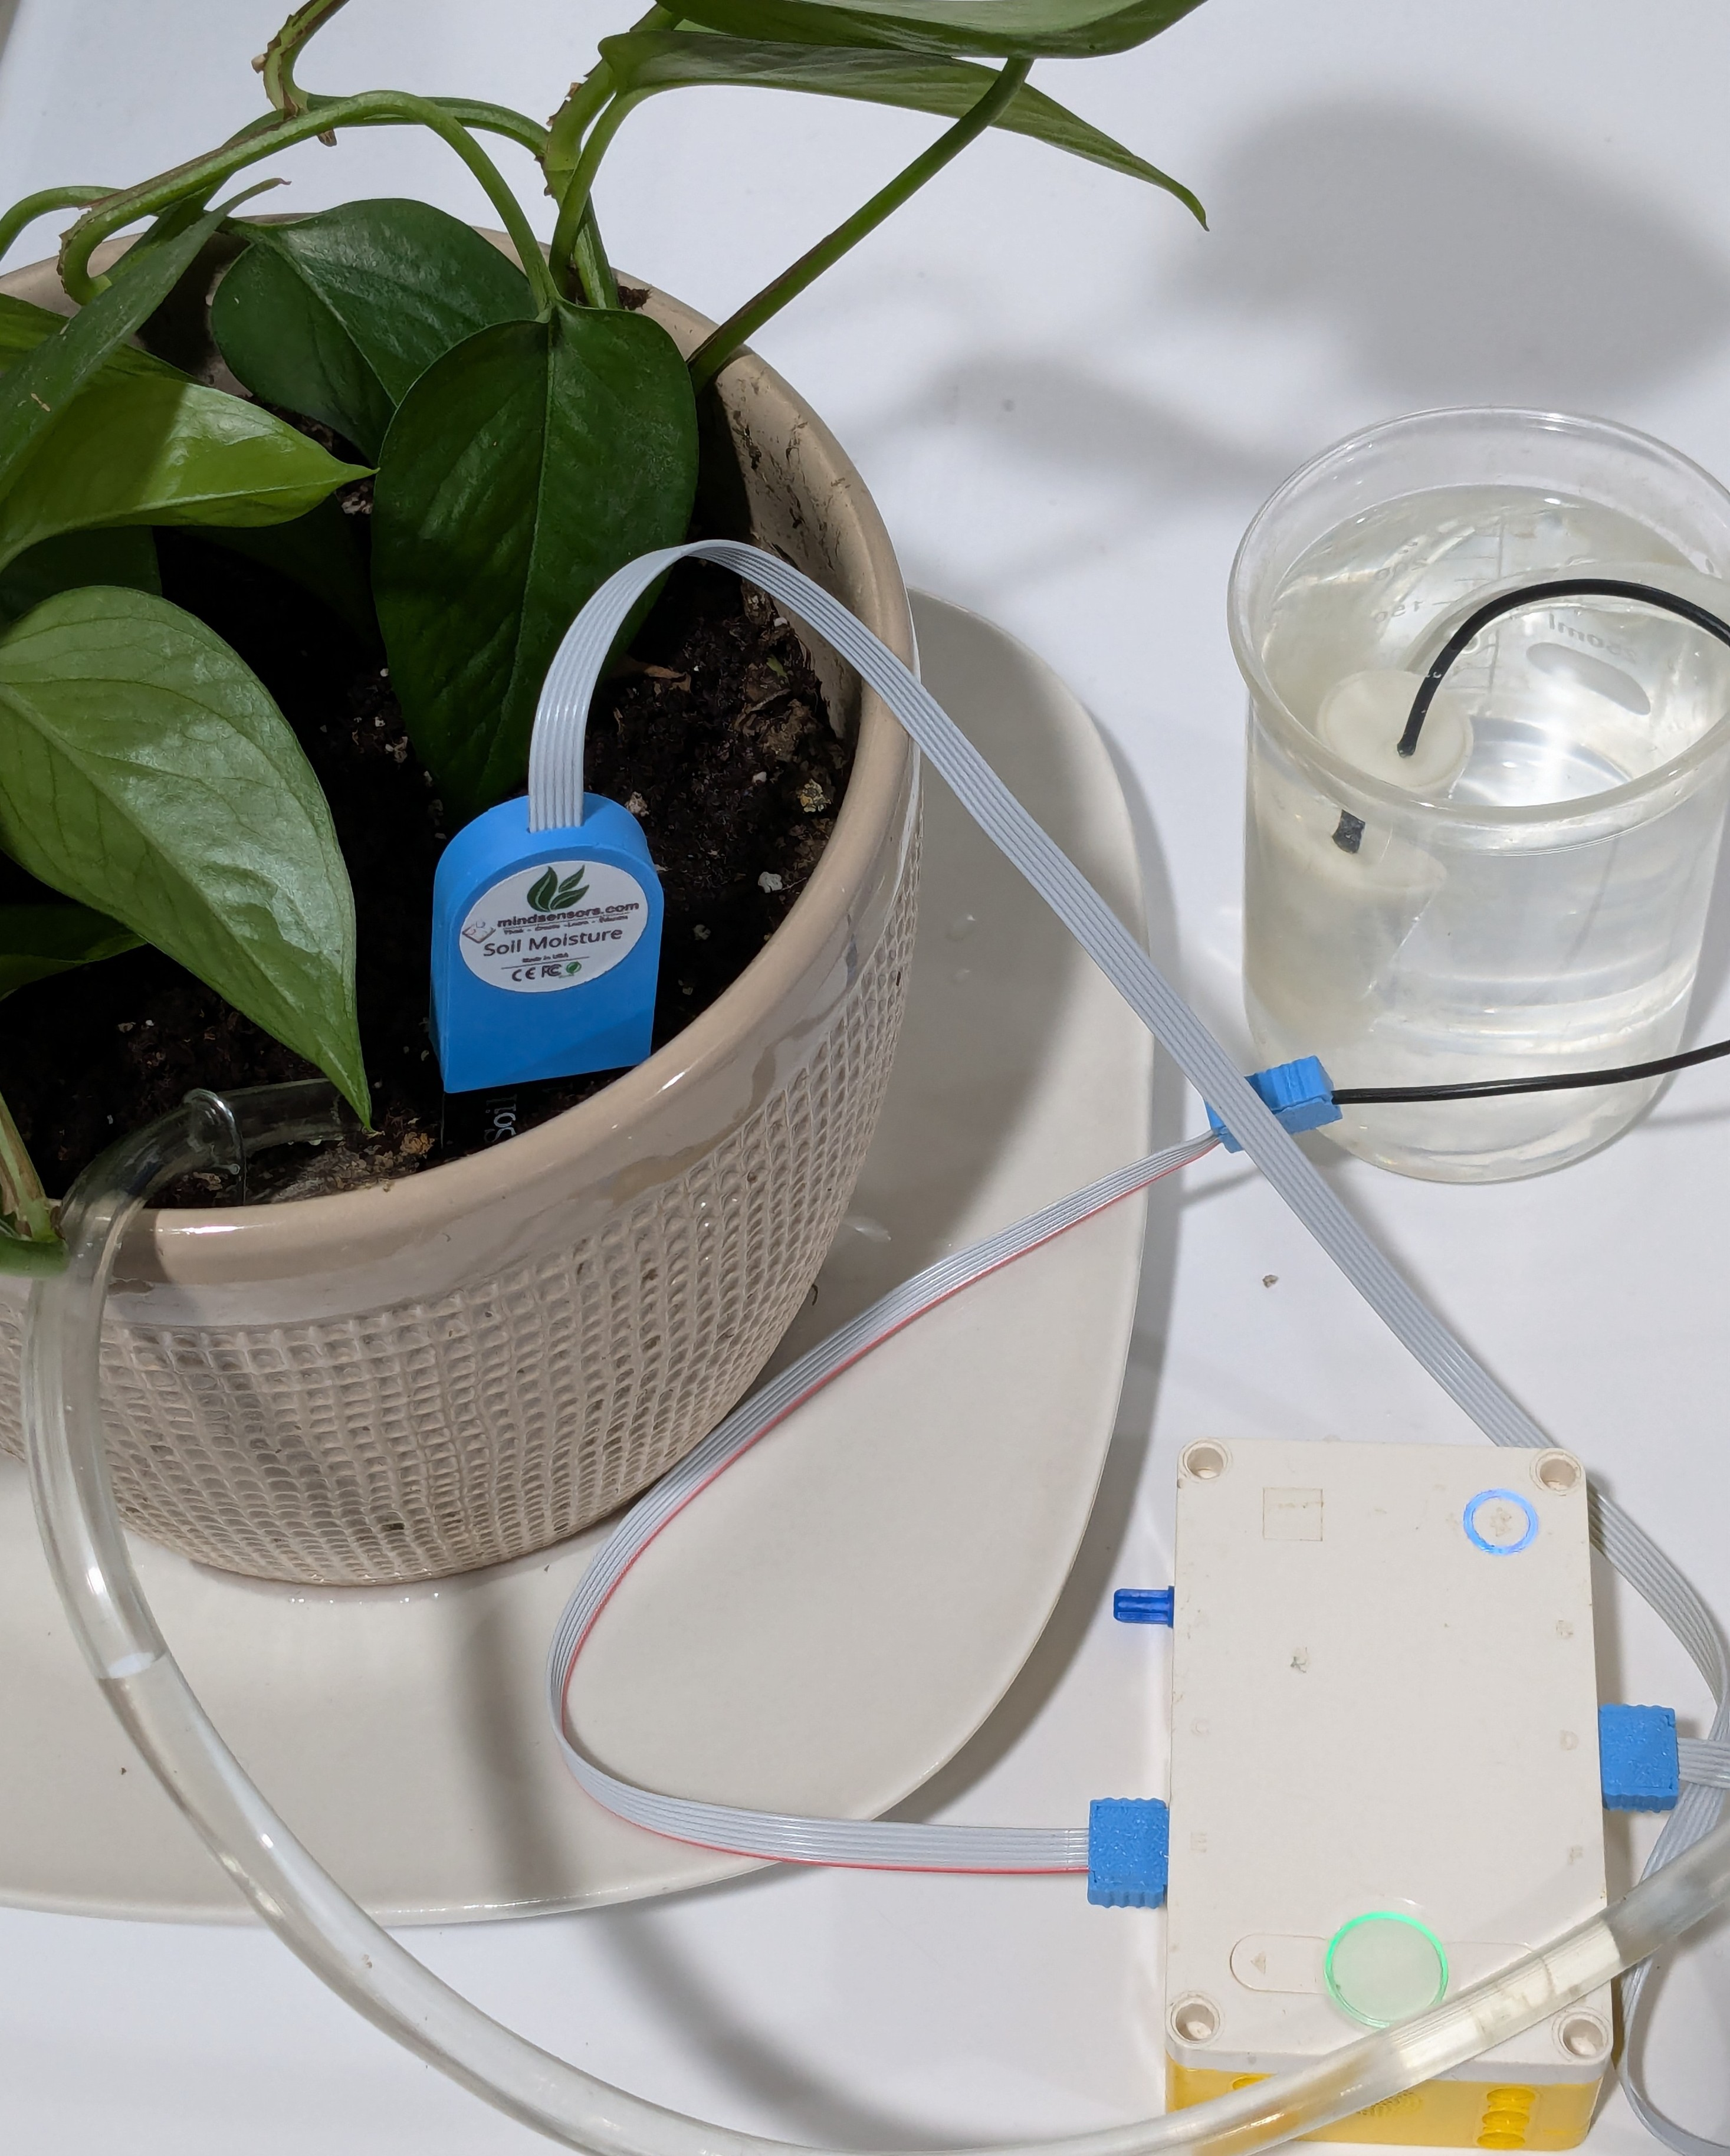
 How to Measure Soil Moisture and Use It in Automatic Plant Watering Systemsread more
 -
 USB Driver installation instructions for NXTCam-v503/07/2024read more
USB Driver installation instructions for NXTCam-v5
-
 How to attach rechargeable battery to PiStorms12/07/2023read more
How to attach rechargeable battery to PiStorms
-
 Connect to Wi-Fi Directly from PiStorms!12/02/2017read more
Connect your Raspberry Pi to a Wi-Fi network directly from PiStorms!
-
 Image Recognition Robot with PiStorms and Pi Camera12/02/2017read more
Image Recognition Robot with PiStorms and Pi Camera
-

-
 Rotary Inverted Pendulum with PF-XL Motor and GlideWheel-M12/13/2016read more
Rotary Inverted Pendulum with PF-XL Motor and GlideWheel-M
-

-
 Make Your Own Obstacle Avoidance Robot with SumoEyes12/13/2016read more
Make Your Own Obstacle Avoidance Robot with SumoEyes
-

Blog categories
Search in blog

Program PiStorms with Scratch - Getting Started
Download the PiStorms Scratch image.
Unzip the file and write it to an 8GB or more micro-SD card.
Installation files are currently being developed.
VNC
VNC is used to remotely access the Raspberry Pi so you can access the Scratch programming environment.
VNC is configured during the installation process. If you are using our image from the link above, VNC will run at startup.
Download VNC to your computer, tablet, or smart device. Most VNC applications will work.
Instructions to setup VNC on Windows
Tablet and Smart Device setup is similar to PC. There is usually an easy setup process.
If VNC is not configured to run upon Raspberry pi startup, start the VNC server.
Connect the Raspberry Pi and VNC device to the same network.
Instructions to connect Raspberry Pi to wifi
Open VNC on your device.
Connect to the Raspberry Pi using the IP address and port.
eg. 255.255.255.255::5900
If you are using the image from the link above, the password is raspberry
The Raspberry Pi GUI should open on your device in a minute or two.
If you need to modify the resolution, start by logging through VNC. Launch the terminal by clicking the third icon on the task bar, it looks like >_. Enter the command sudo leafpad. Leafpad is the simple text editor you will see open. "sudo," or "super-user do," is required because we need to edit a protected file. Go to File -> Open... or press Ctrl+O. In the Places sidebar to the left, click File System. Now open the boot folder and double-click config.txt. In this text file scroll down until you see "# uncomment to force a console size. By default..." Delete the # before framebuffer_width and framebuffer_height. You may change 1280 and 720 to your needed dimensions. Keep in mind that a larger resolution will require more bandwidth for the VNC connection. Save and restart.
Scratch
Open the Scratch programming environment.
Menu>Programming>Scratch

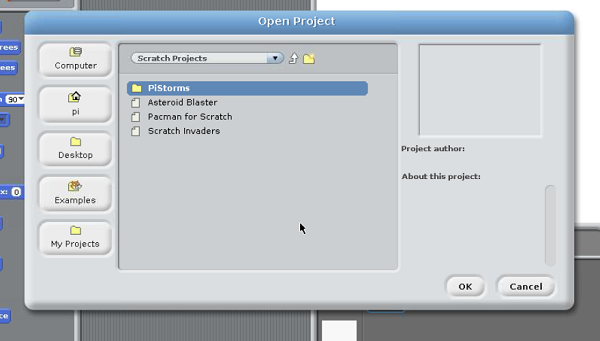
Open the PiStorms Template or one of the PiStorms example programs.
File>Open>Scratch Projects>PiStorms>file of your choice

Write your own or modify one of the existing programs.
PiStorms Scratch Reference Document
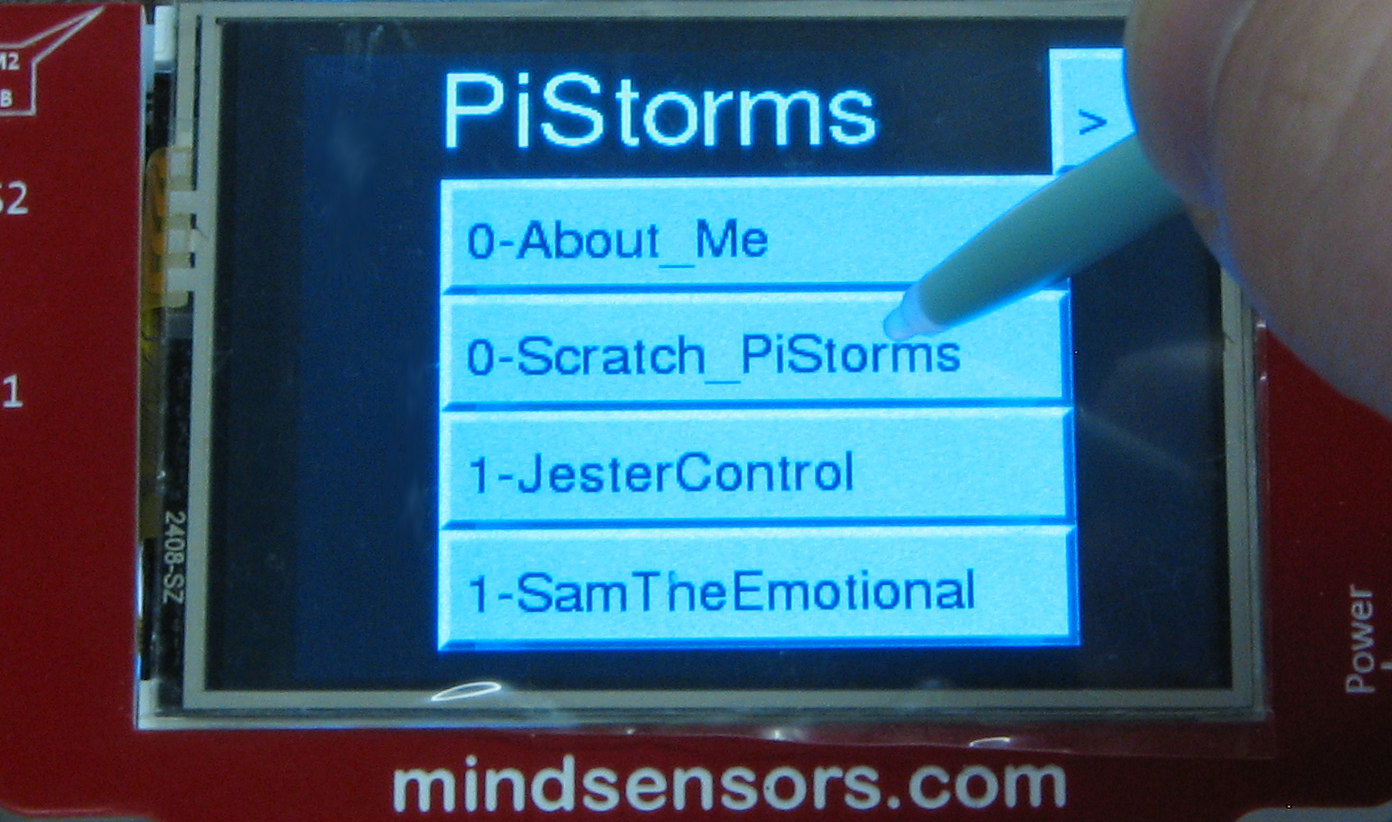
Touch 0-Scratch_PiStorms on the PiStorms touchscreen.

The program will begin running.
Press the go button to stop the program and exit the PiStorms to the main menu.
Check out some of the example programs in action!
Related posts
-
 Line Following Robot with LightSensorArray or LineLeader
read more
Line Following Robot with LightSensorArray or LineLeader
Line Following Robot with LightSensorArray or LineLeaderread more -
 Attach Mulitple Sensors to a Single EV3 Port
EV3 Sensor Adapter with SPLIT-Nxread more
 -
 Vision for your PiStorms Robot using Pi Camera!
read more
Vision for your PiStorms Robot using Pi Camera!
Vision for your PiStorms Robot using Pi Camera!read more -
 How to install OpenCV on Raspberry Pi and do Face Tracking
read more
How to install OpenCV on Raspberry Pi and do Face Tracking
How to install OpenCV on Raspberry Pi and do Face Trackingread more -
 How to Upgrade PiStorms Firmware
read more
How to Upgrade PiStorms Firmware
How to Upgrade PiStorms Firmwareread more

Leave a comment